
Travel | North America
Pandora-Inspired Black Light Minnie Ears A DIY Hot Glue Gun Craft
August 6, 2020
Several years ago at Disney World, I noticed a few people with the most beautiful Minnie ears, covered in greenery and flowers. They weren't sold in the parks, and the staff said they were probably bought on Etsy. I searched, but I couldn't find those ears anywhere. So years later, I have decided to take that idea and make it even better. I wanted to use the plant life from the beautiful Disney world of Pandora as my inspiration for my own ears.

I plan to wear these in Pandora when it's safe to return to the parks. And in Pandora at night, everything glows by black light. So, of course, my ears need to glow too!
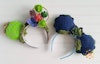
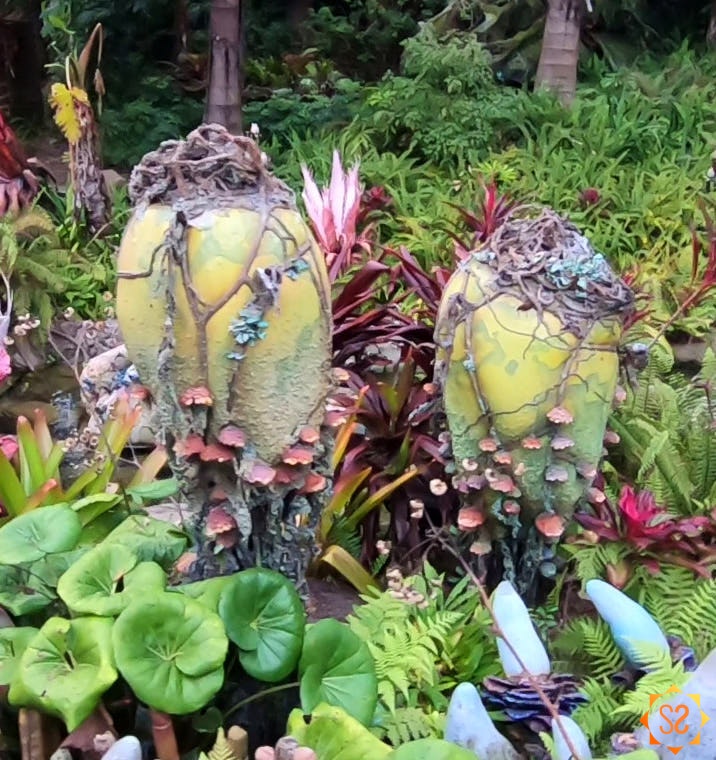
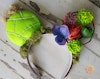
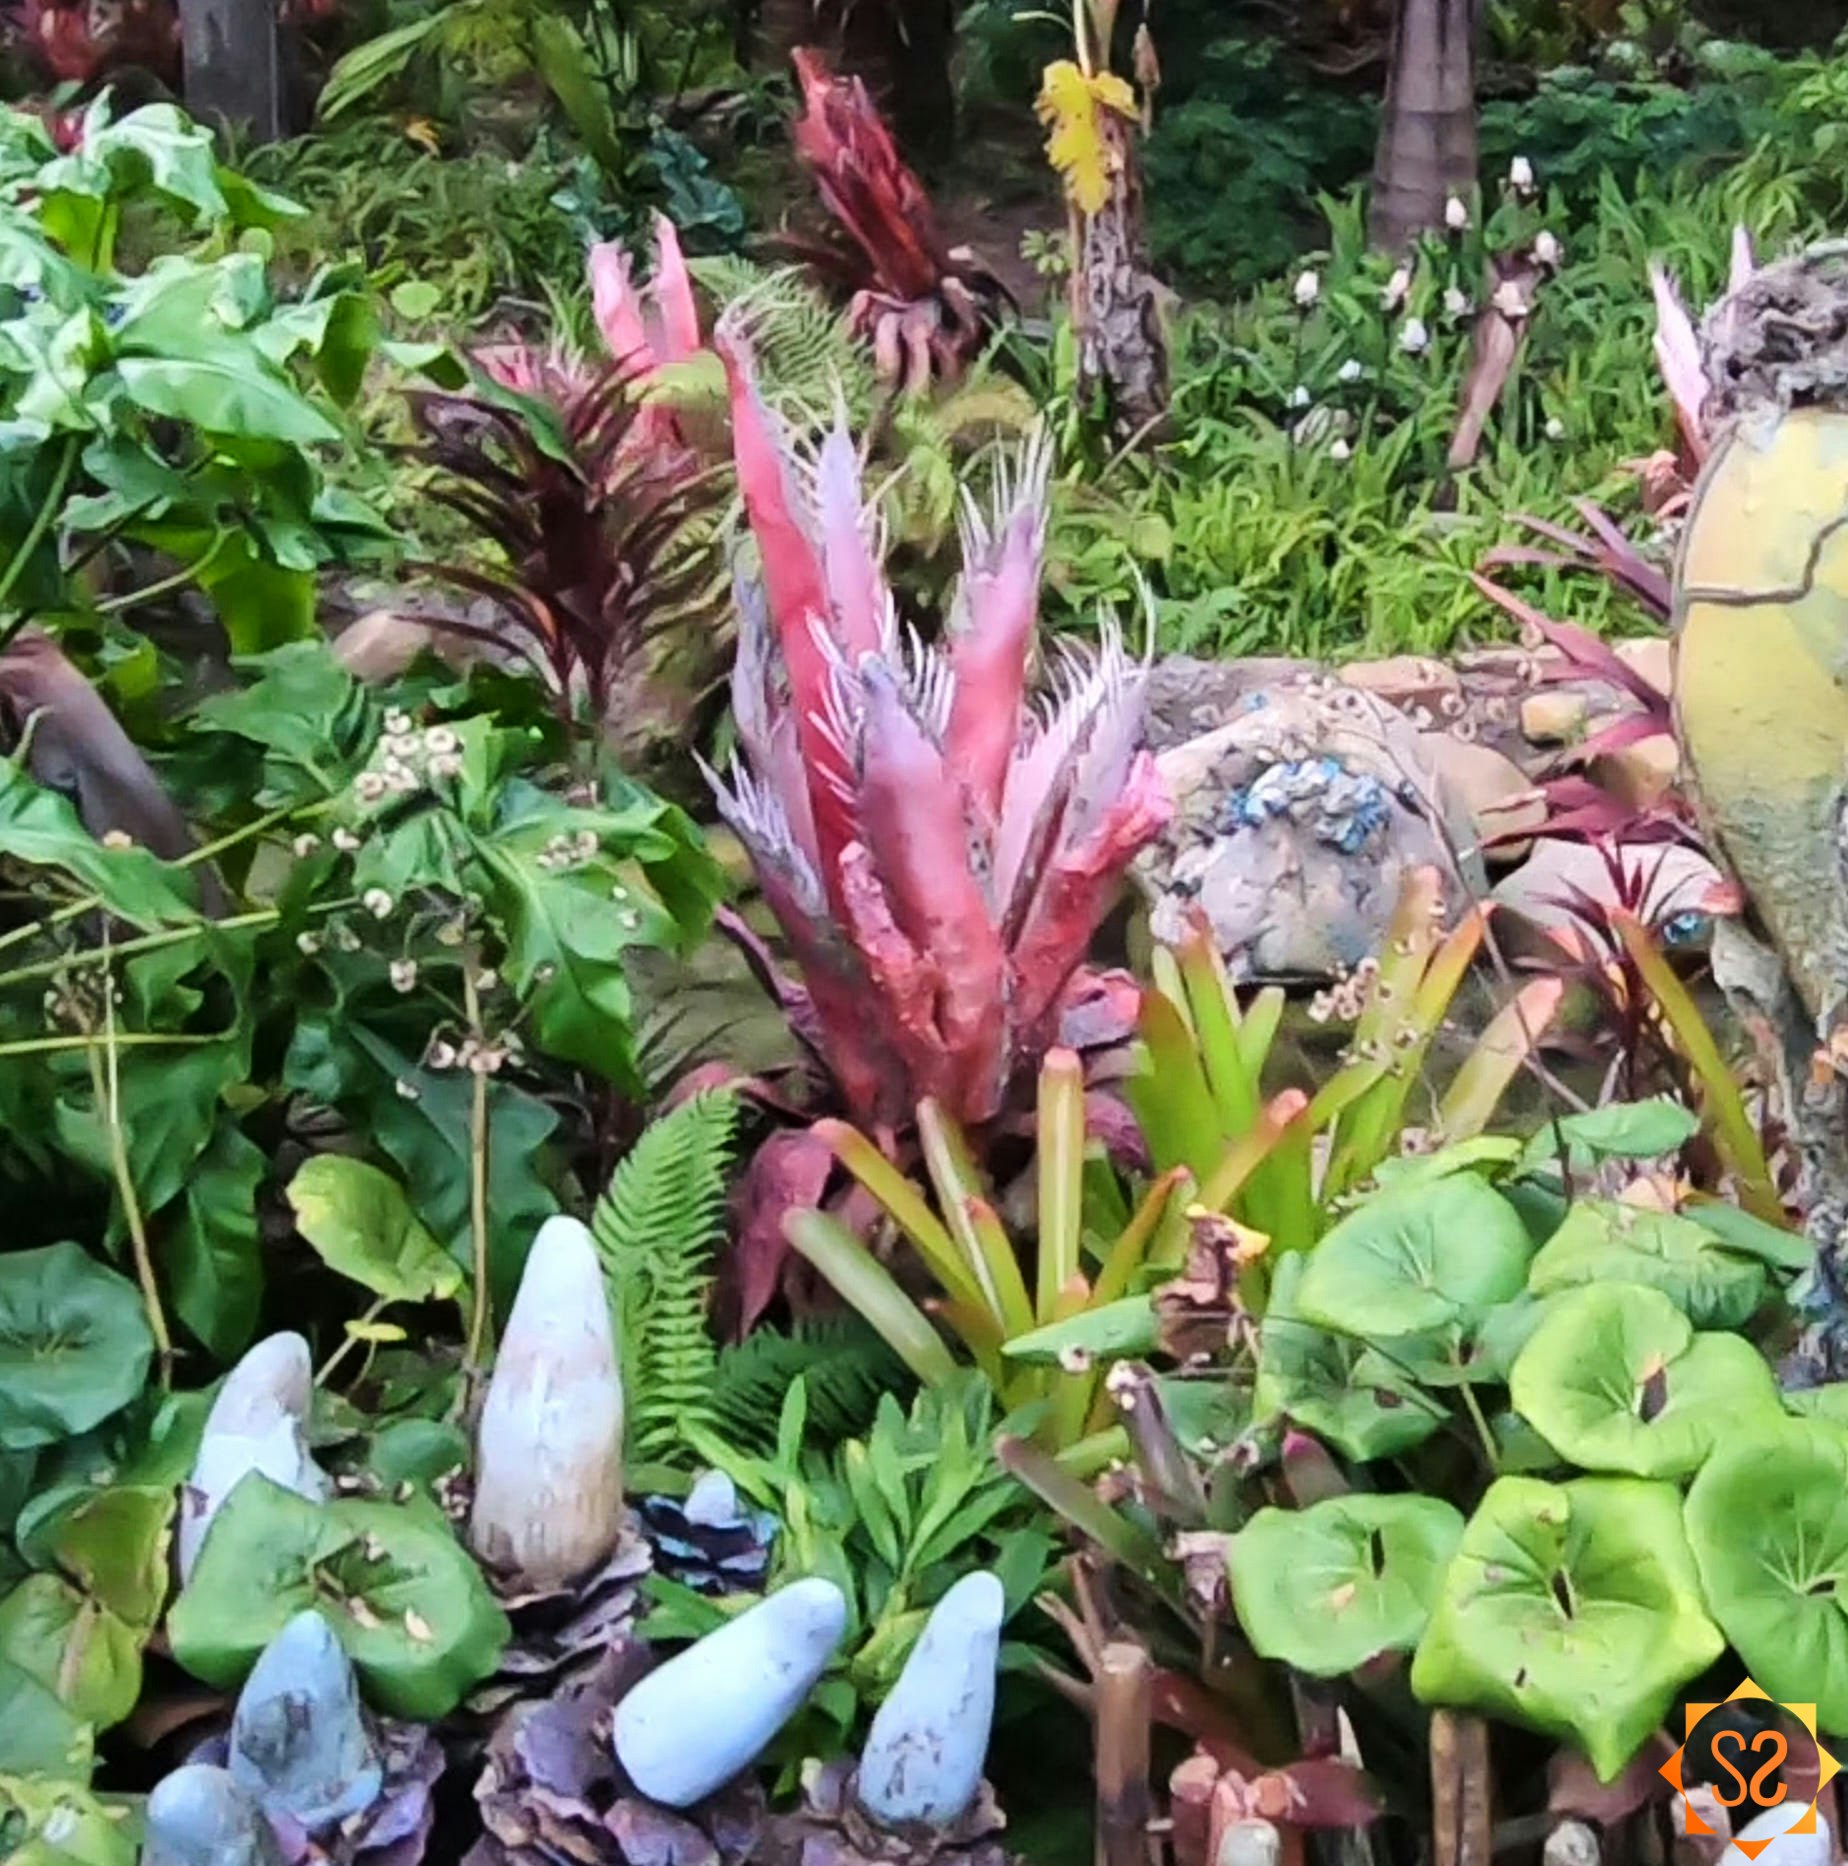
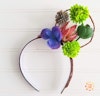
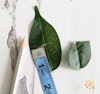
I made two sets of ears. The first set is inspired by the plant life all around Pandora. One entire ear is a replica of a vein pod. That's the yellow-green plant on Pandora that's wrapped in vines, with some mossy material at the top and bottom. It traps methane, keeping the air on Pandora clean. The other ear is a wire circle that contains several Pandora-like plants and flowers. The headband is wrapped in moss to keep the greenery theme going.
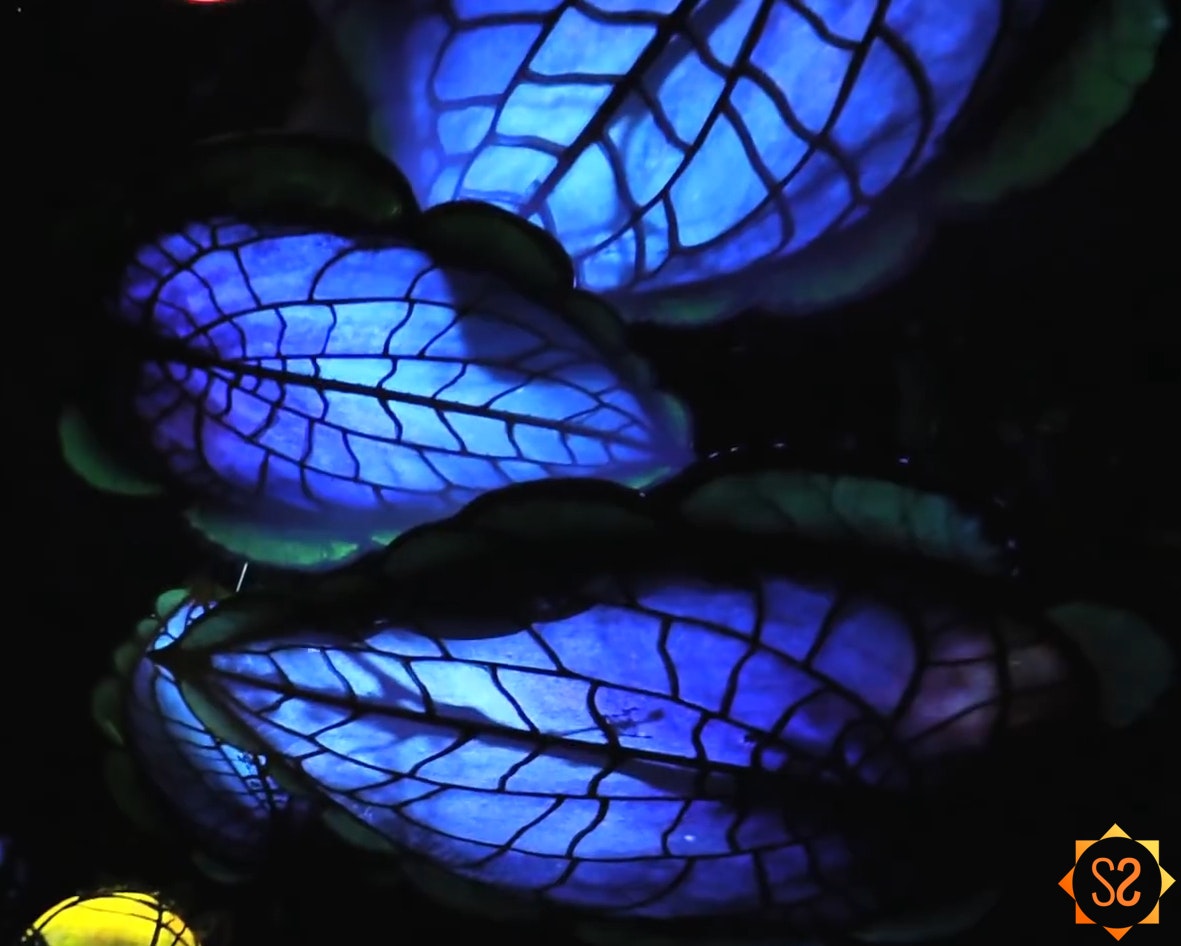
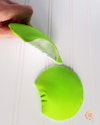
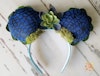
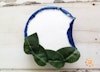
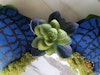
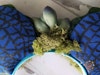
The second set of ears comes from the Pandora boat ride, Na'vi River Journey. If you look up at a certain point in the ride, you'll see glowing blue lily pads with the shadows of small critters running above them. The lily pads have a border of green leaves. Each ear in my set is one (round) lily pad, and I used a blue-green succulent for the "bow."
If you want to make your own set of Pandora-inspired ears, here's how I made mine, along with links to the materials I purchased. I used hot glue to hold everything together, but you may prefer to sew the ears together instead for a cleaner look. (After you sew them together, put a foam-board ear shape inside to hold the shape.) Whatever you decide to do, use your creativity to make them your own!
Plant Life Pandora Ears
You'll Need:
2 cups/mugs to use as a pattern for ears; one with a 3 3/4" diameter, another with a 4 1/2" to 4 3/4" diameter (or you can use a compass)
1/4 yard of yellow-green fabric (something with a slight stretch is ideal, but not necessary). I used this kona quilt cotton in the color tarragon.
iron (optional)
fabric scissors
fabric marking pencil
disposable plate or paint palette (to mix and hold paints)
black light fabric paints in an assortment of colors; I used these Glow Magic black light paints; you could also use these invisible black light paints
small paintbrush
1 headband (I used a 5/8" wide satin headband in brown; green would work also, if you can get it)
measuring tape or ruler
wire cutters
hot glue gun & hot glue sticks
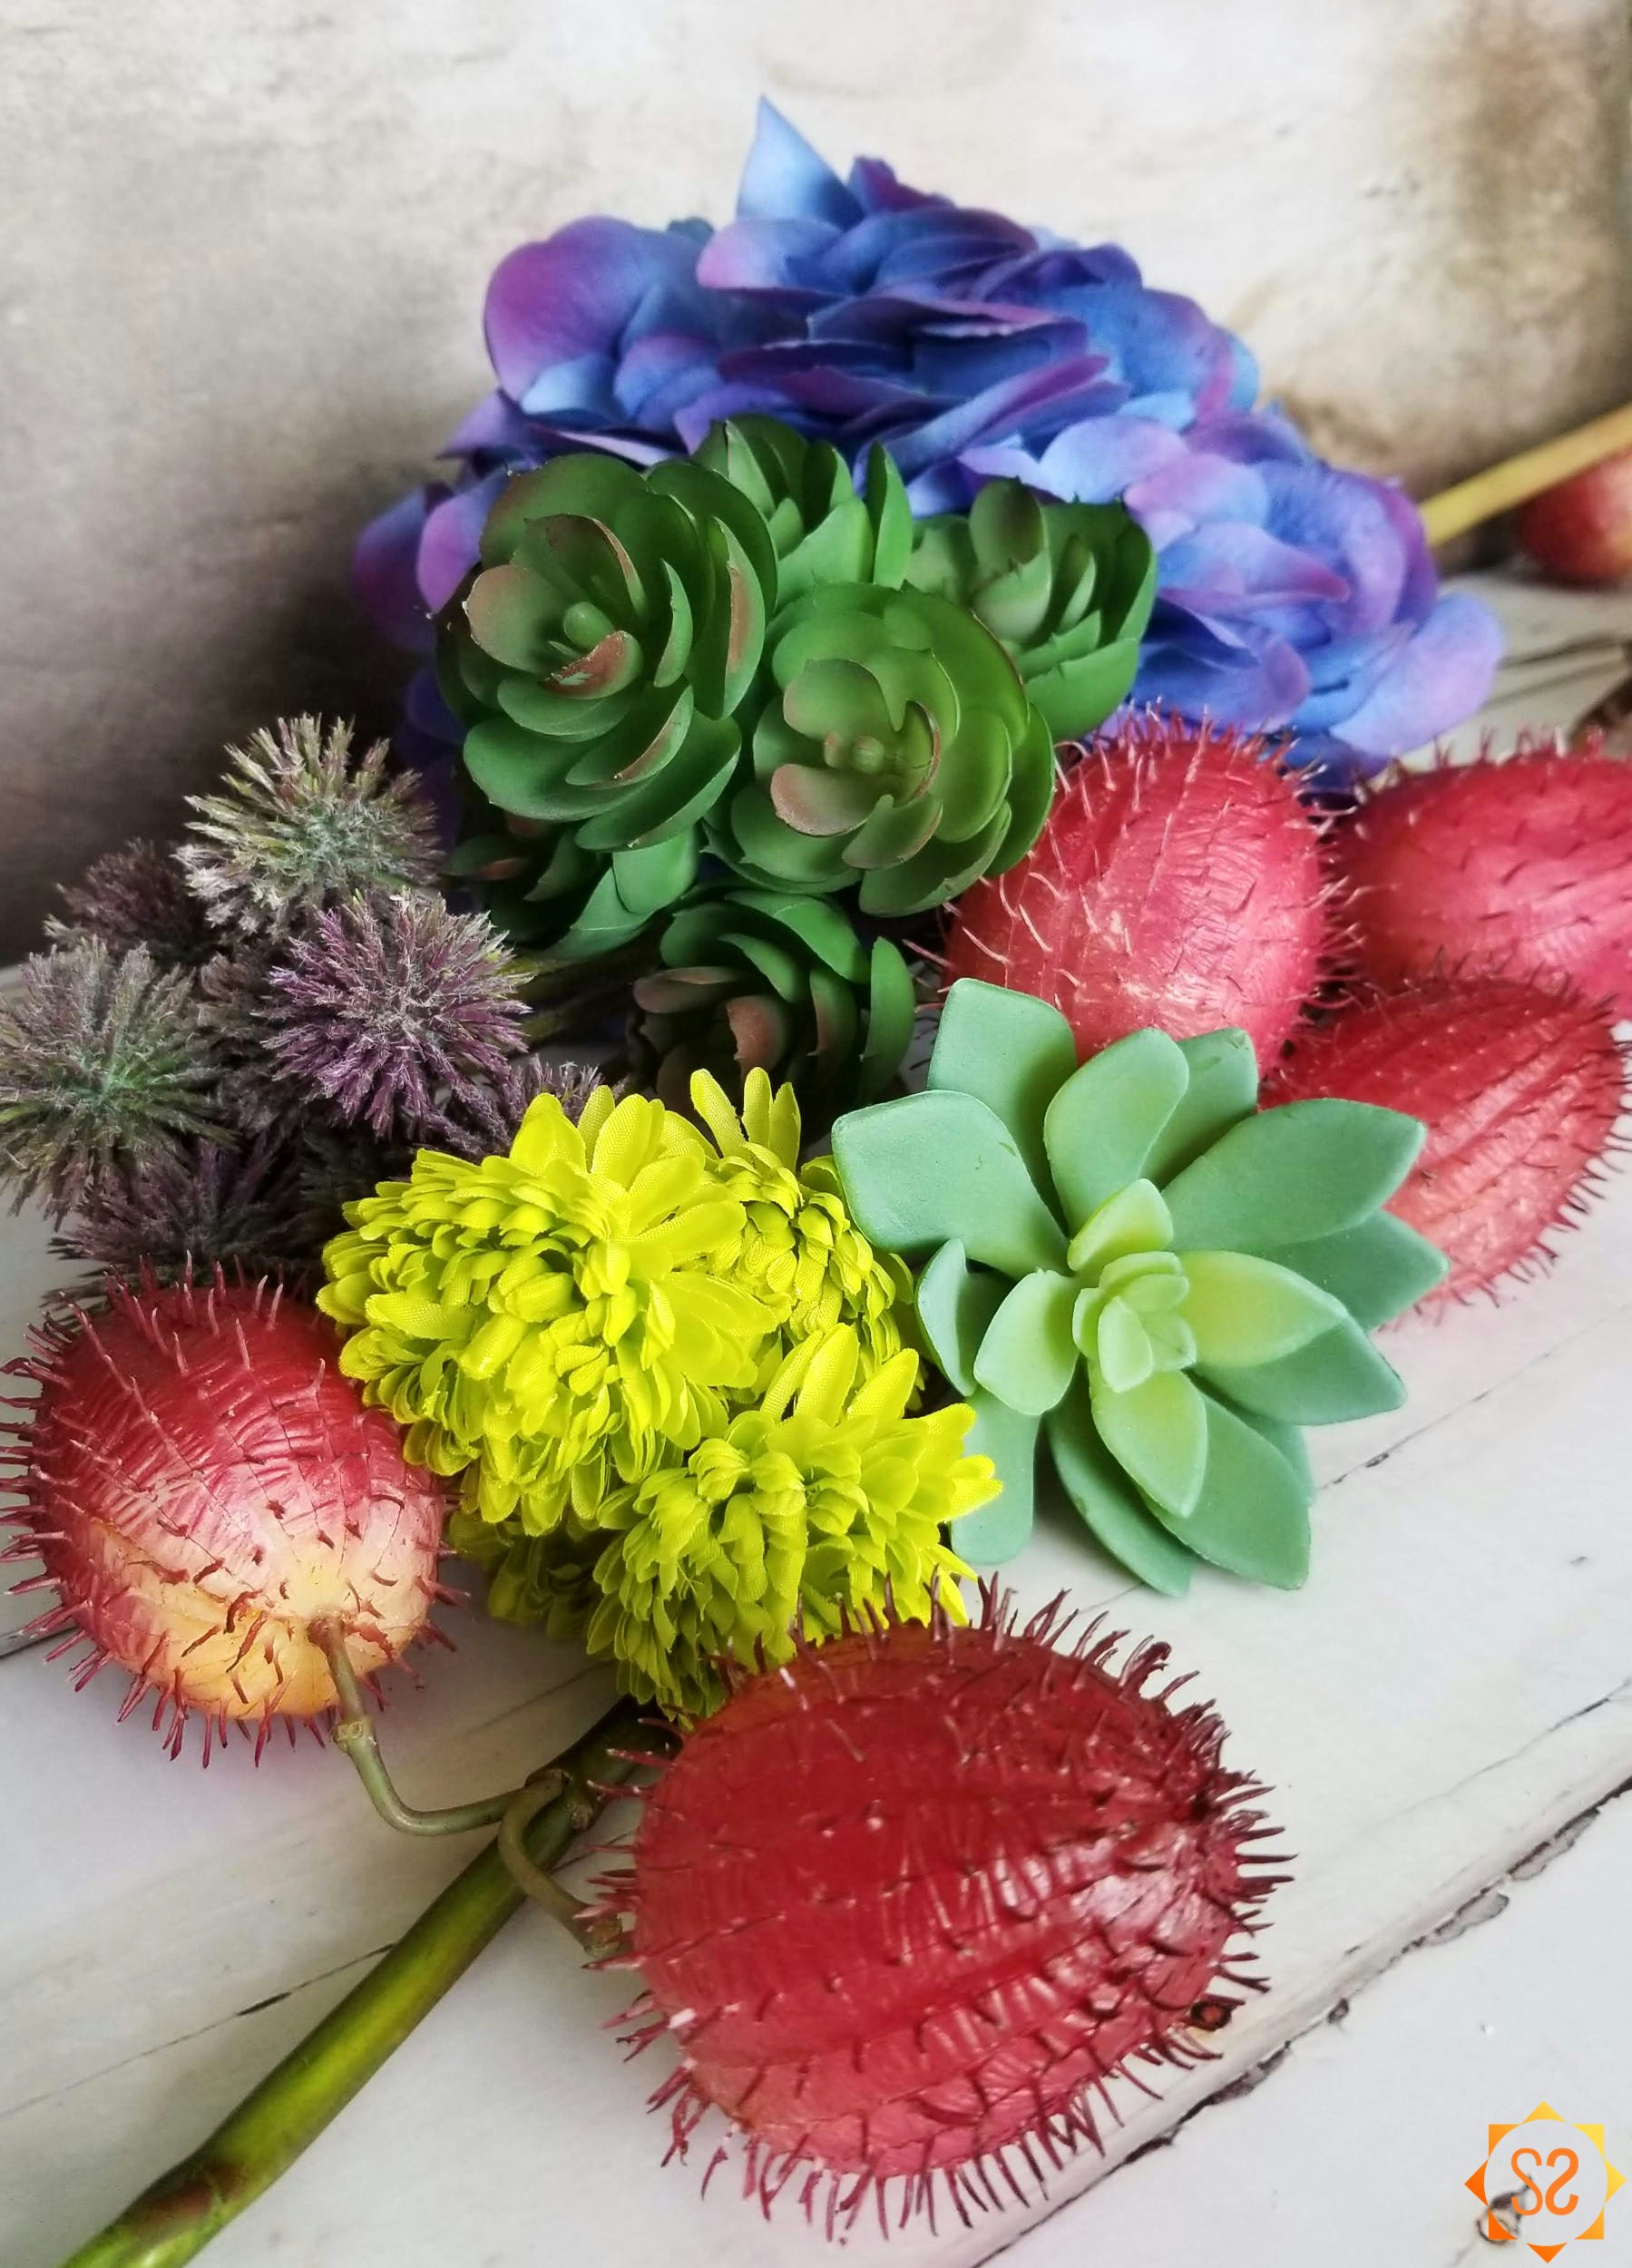
an assortment of exotic-looking small flowers and succulents; I used photos of Pandora for inspiration, and I cut some flowers to make them match what I saw; here are the specific flowers I used:
two 9" green mums; these came from Chan's Silk Flowers, but they're not on their website; they're sold in a bunch of six. You could try calling the store to order.
artificial succulent pick with 7 flowers, green with red; also from Chan's Silk Flowers and not on their website.
one 15" echinopsis in purple; also from Chan's Silk Flowers, also not on their website, and sold in a bunch of twelve.
one blossom from a blue/purple hydrangea stem
two fruits from a 47" red gomphocarpus fruticosus stem; also from Chan's Silk Flowers, and also not on their website
thick needle and thread (optional)
black light bulb (to see your ears glow!)
Instructions
1. Iron your fabric before beginning, if necessary. Use your larger mug to trace two circles on your fabric with your marking pencil. Cut out the circles.
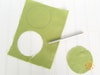
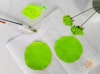
2. On a palette or disposable plate, mix equal parts green and yellow black-light paint. Using your paintbrush, paint your circles on the side you want to be showing. Be sure to guard your work surface, because the paint may soak through the fabric. Use a black light to check your paint coverage; apply a second coat, if necessary.
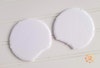
3. Using your smaller mug, trace two circles on your foam board and cut them out. Line the foam board circles up with the headband and use the headband to trace a line on each circle where the headband will meet the ear. You can either use a pair of ears you already have to do this, or you can measure. If you're measuring, the ears should be about 2 inches apart from each other. After you trace the foam board, leave it in place and mark the position of the ears on the headband, using your fabric marking pencil. Cut the small strip of foam board from the bottom along the line you traced on each circle.
4. Using wire cutters, cut an approximately 15-inch piece of wrapped wire. Shape the wire into an ear shape, using a foam board ear as a guide. Leave enough wire on either side to attach to the headband. You should leave less than 2 inches of wire to be attached to the center of the headband, because if it's longer, you won't be able to glue your other ear onto the headband. You can use a longer length on the lower part of the headband, if you prefer. Just be sure to leave enough wire to get the hot glue to hold it securely.
5. Line up your wire ear with one of the ear marks on your headband. Hot glue the wire at the center of the headband first and hold it in place until it dries. Once that's secure, then hot glue the lower piece of wire to the headband.
6. (Optional). If you'd like to make the center flower exactly as I did, you'll need a stem of artificial red gomphocarpus fruticosus, which is a plant from South Africa with spiny fruit. I purchased mine from a local silk flower shop, Chan's Silk Flowers. They don't have it listed on their website, but if you can't find it anywhere else, they may be able to ship it to you if you call. These fruits are usually green, so you could also use a green one and paint it red.
Pull two bulbs of fruit from the stem and pull each of them apart. They are assembled in halves and should come apart easily if you find the seam. Cut them down to around 1 1/2 to 1 3/4 inches high. Then, cut each half into three petals. Start by cutting three equal pieces (don't cut them apart entirely; leave them attached at the bottom). Once you have three pieces cut, you can shape the top of each petal by cutting diagonally from the center of the top of each petal down towards where the petals meet.

After you have cut all four halves, hot glue two halves together at the base, leaving the stem in tact for now. If one fruit piece is smaller than the other, you should use the smaller one first (for the inner petals). With the remaining two halves, position them in a similar fashion, around the first set of petals. You should put them a little lower, so the first set is slightly protruding from the top. You can use the stem of the first plant to connect the second one. You also want the outer petals to fill the spaces left by the inner petals. Once you're happy with the position, glue the final two halves together around the stem of the first one.

Use the black-light paint color of your choice to paint the flower however you'd like. I painted the edges of the petals in a coral color, and I also painted the inside of the flower. Once it's dry, cut the stem that's protruding from the bottom of the flower, and hot glue it to your headband, in the middle of your wire ear.
7. Arrange your other flowers the way you want them in your wire ear. Keep in mind that you can cut off your stem and glue the flowers directly to the headband, or you can keep part of the stem to have some flowers that are a little higher up in the ears. You will also be able to glue directly to the wire ear.
8. Once you have an arrangement that you like, black-light paint the flowers you chose, in any design you like. You can paint the entire flower, or paint lines on the flowers, or dots, etc.
9. When the flowers are dry, hot glue them in place. Use wire cutters to cut any stems that need to be cut.
10. To make your fabric ("vein pod") ear, lay one of your fabric circles on your work surface, painted side down. Take one of your foam board circles and place it on top of the fabric circle, approximately centered. Working in small sections, fold over the edges of the fabric and glue them to the top side of the foam board. Don't glue the bottom (cut out) part yet. Repeat with the other piece of fabric and foam board.
11. Once your ear halves are dry, use the opening at the bottom to stuff them with poly-fil. You don't need to stuff them too full, just enough to give the ears a rounded shape. Glue the ears closed.
12. Using your marking pencil, draw lines where you'd like your vines to go on your vein pod. When I drew mine, I matched up the lines so the vines could connect from the front to the back of the ear. That creates a more realistic effect, and also creates less cord-cutting for you!
13. (Optional) Using a thick needle (one that can get through the foam board) and thread, make large stitches following the lines that you drew. The idea is to pull the fabric towards the foam board in these areas so that when you lay the "vine" on top, it will look like the vine is squeezing the plant.
14. Hot glue the two halves of your ear together, making sure they're properly aligned. Hot glue your hemp string (or another similar vine-like string) along the lines you drew on your fabric.
15. Hot glue some grey moss to the top of your vein pod ear, then glue your ear to the headband, using the lines you previously marked on the headband as guides.
16. Hot glue green moss to your headband to finish the ears. You can use the moss at the base of the vein pod, and to cover the glued wire from the wire ear. You can also paint and glue more flowers to the center of the headband if you'd like.
17. Show me your ears! Put your pictures on Instagram and tag me @msstephsunshine

Lily Pad Pandora Ears
You'll Need:
2 cups/mugs to use as a pattern for ears; one with a 3 3/4" diameter, another with a 4 1/4" to 4 1/2" diameter
1 headband (I used a 5/8" wide satin headband in turquoise; dark blue or green would work also if you can get it)
measuring tape or ruler
hot glue gun & hot glue sticks
1/4 yard of royal blue fabric (something with a little stretch is ideal but not necessary)
fabric marking pencil
blue colored black-light fabric paint; I used these Glow Magic black light paints; you could also use these invisible black light paints
small paintbrush for creating fine lines
a stem of green fabric leaves (you'll need at least 16 leaves if they're printed on the front & back, or 32 leaves if they're only printed on the front)
a small- to medium-sized fabric or plastic succulent or any flower(s) of your choice (to recreate my ears, look for something approximately 2 inches wide to fit between the ears; I chose one with some blue coloring to match the ears; try to find a lightweight one that's not so heavy on your head)
wire cutters
black light bulb (to see your ears glow!)
Instructions
1. Iron your fabric before beginning, if necessary. Use your larger mug to trace four circles on your fabric with your marking pencil. Cut out the circles.

2. Put some blue colored black-light paint on a palette or disposable plate. Using your paintbrush, paint your circles on the side you want to be showing. Be sure to guard your work surface, because the paint may soak through the fabric. Use a black light to check your paint coverage; apply a second coat, if necessary.
3. Using your smaller mug, trace four circles on your foam board and cut them out. Line the circles up with the headband and use the headband to trace a line on each circle where the headband will meet the ear. You can either use a pair of ears you already have to do this, or you can measure. If you're measuring, the ears should be about 2 inches apart from each other. After you trace the foam board, you can leave it in place and mark the position of the ears on the headband, using your fabric marking pencil. Cut the small strip of foam board from the bottom along the line you traced on each circle.
4. To make your ears, lay one of your fabric circles on your work surface, painted side down. Take one of your foam circles and place it on top of the fabric circle, approximately centered. Working in small sections, fold over the edges of the fabric and glue them to the top side of the foam board. Don't glue the bottom (cut out) part yet. Repeat with the other pieces of fabric and foam board.

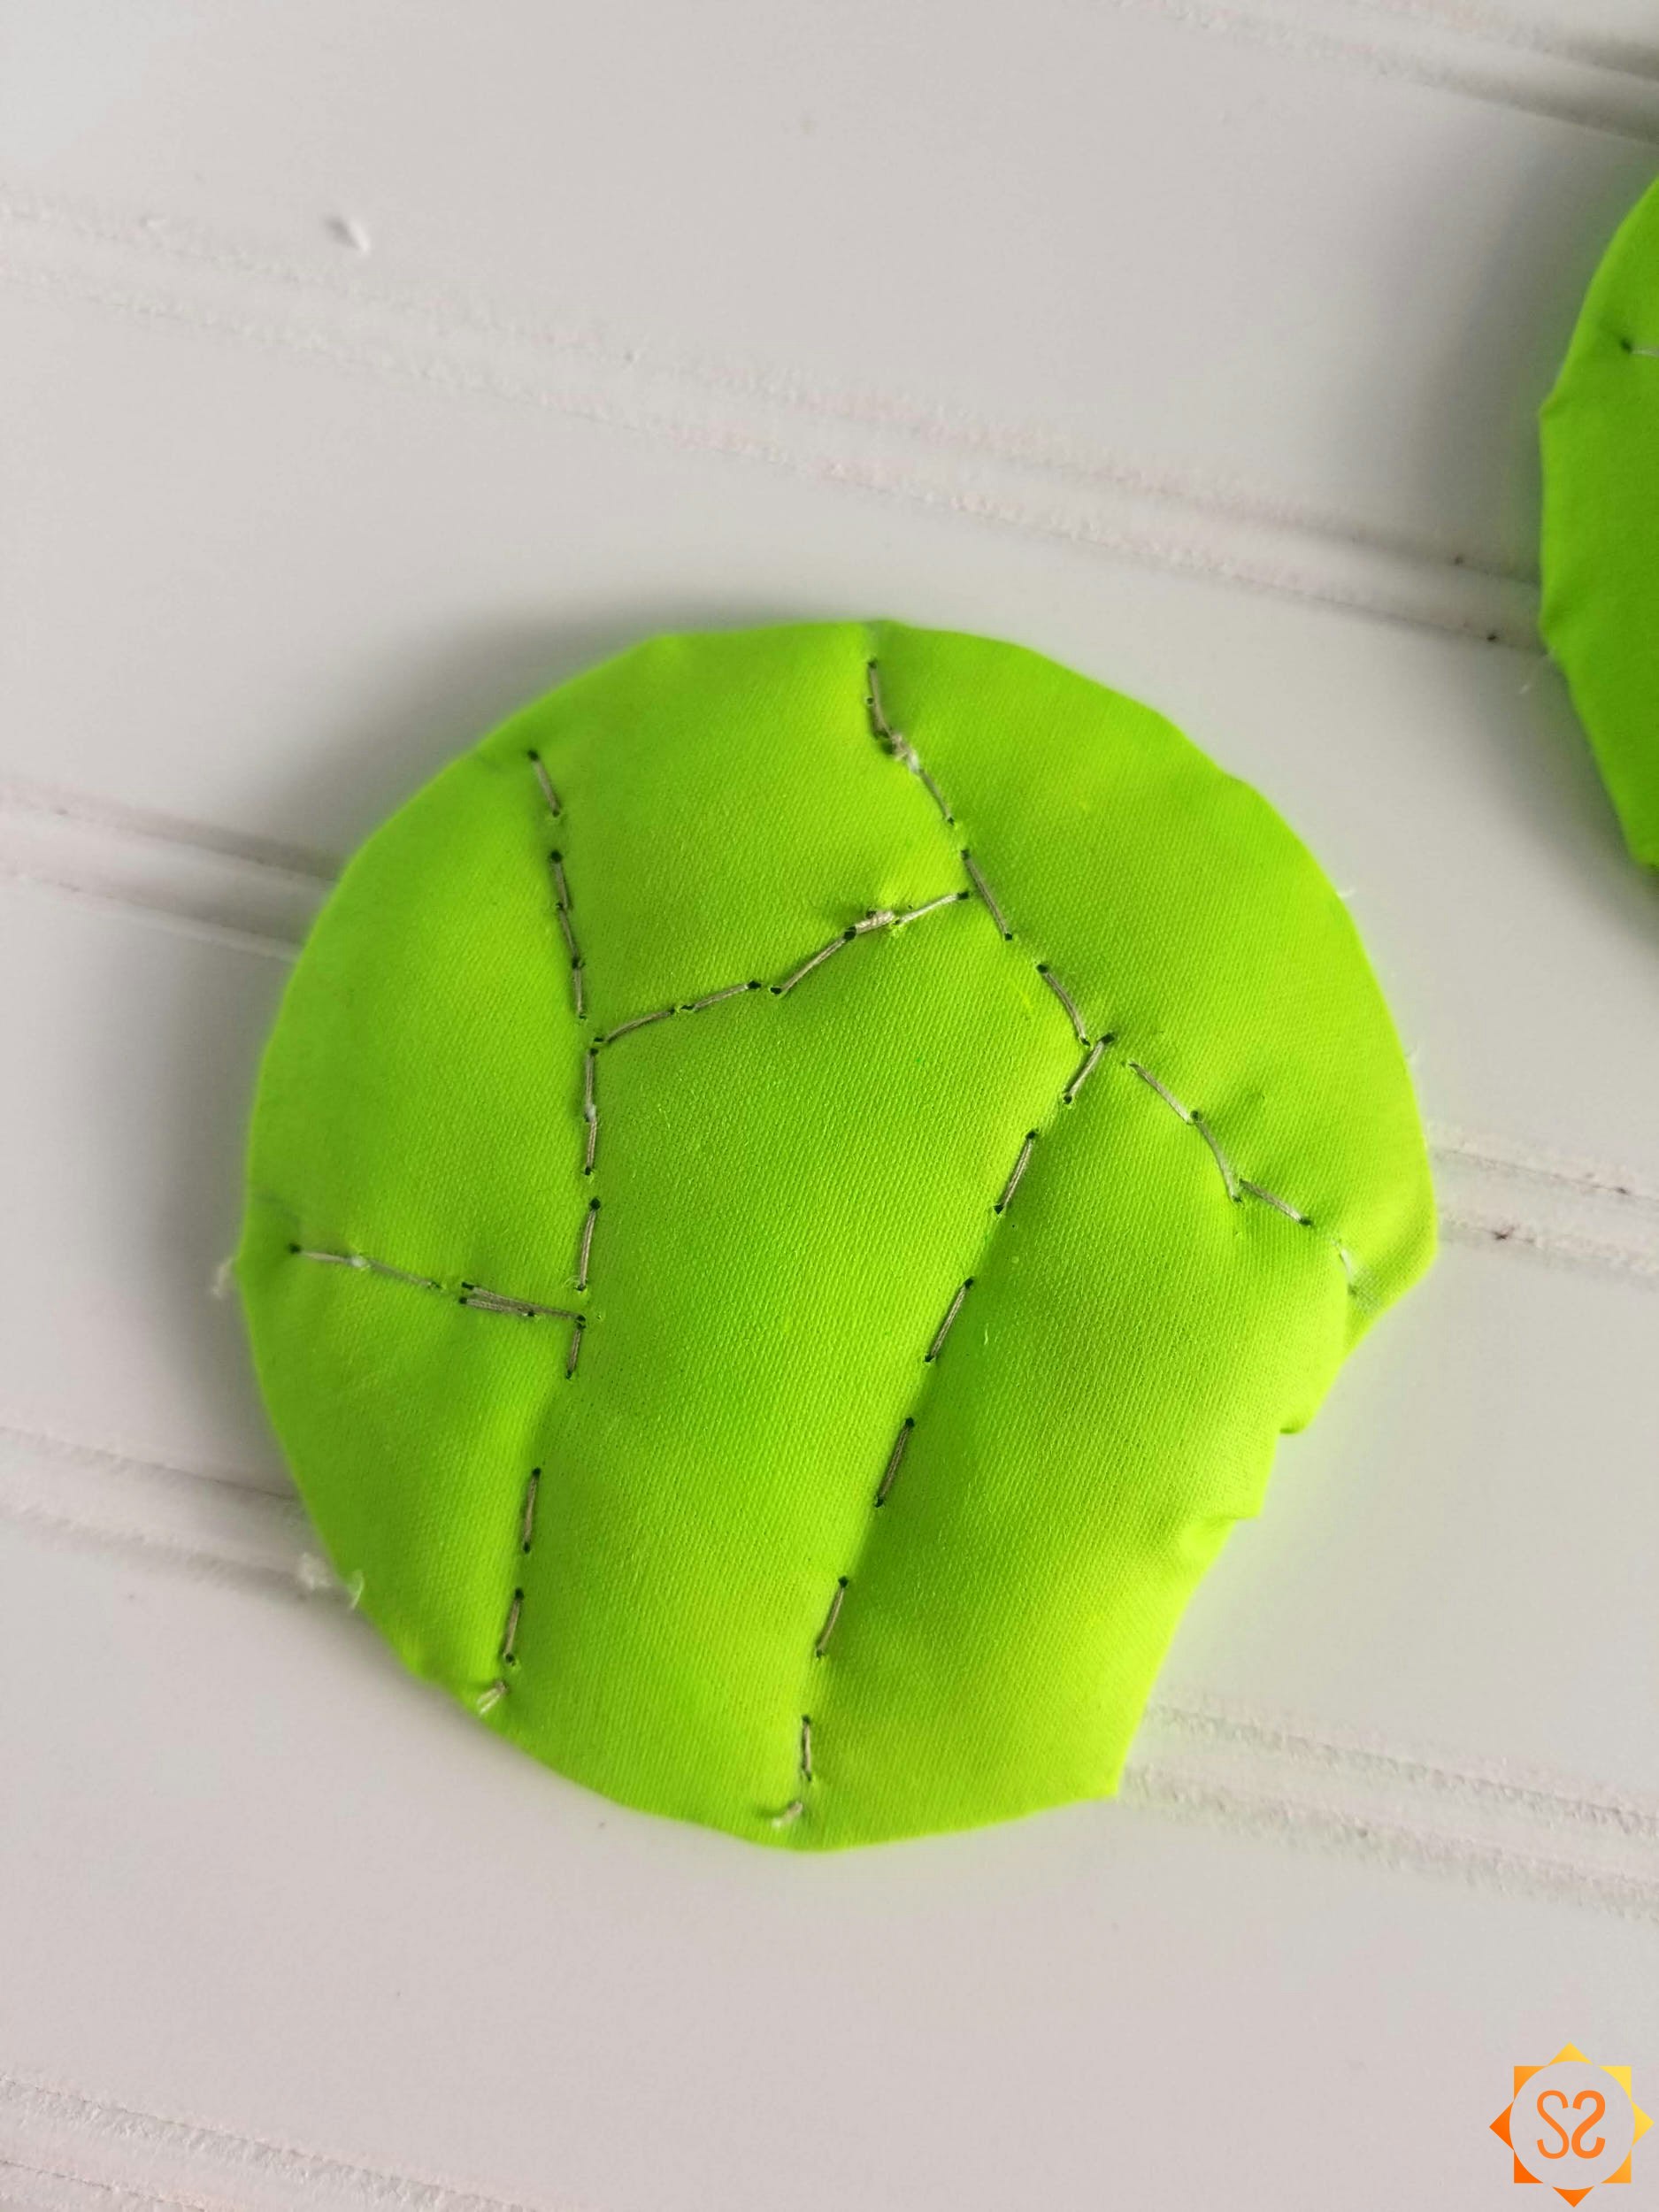
5. Once your ear halves are dry, use your marking pencil to draw on the veins of the lily pad. You can use the photo at the beginning of this page from the Na'vi River Journey ride as a reference. You should have one line going straight down the center, then 2-3 crescent-shaped lines on each side, going from top to bottom. Between the lines you drew, you want to make small lines to connect them. These can be straight or squiggly, headed left to right, or diagonally. Do this for all four halves.

6. Use the opening at the bottom of the ear halves to stuff them with poly-fil. You don't need to stuff them too full, just enough to give the ears a rounded shape. Glue the ears closed.
7. Using your black fabric paint and a small paintbrush, carefully paint over the lines you drew on your ear halves. Set them aside to dry.
7. Cut 16 or 32 leaves from your stem. (If your leaves look like leaves on both the front and back, you will only need 16; if they are not, you may want 32, to glue two similarly-sized leaves together so they look good on both sides). On your 16 leaves (single or double), measure 1 1/4" from the bottom and mark it with your marking pencil. Cut off the top of each leaf at the mark you made. Cut down one side of each leaf, so it is leaf-shaped again. The other side will be inside the ears, so it won't be seen, and you don't need to cut it.
8. On one ear half, hot glue the petals to the foam board, so that the leaf-shaped side is sticking out from the ear. You should have 4 on each side, and you'll want the thicker, rounder part of the leaf on the lower part of the ear (the part that's closer to the headband), and the thinner part higher up. Repeat with one other ear half.
9. Hot glue two halves of your ear together (one half with leaves, another half without), making sure they're properly aligned. Repeat with the other two halves.
10. Hot glue your lily pad ears to the headband, using the lines you drew earlier as a guide.

11. Choose a flower or flowers to decorate the space between your two ears. Cut the stems and hot glue them in place. Be sure that your petals don't extend below the headband, as they will be pushed up when you put the headband on your head.
12. Hot glue moss to your ears wherever it's needed. I put moss at the seam where my ears meet the headband, and behind my succulent to cover up the glue points and the stem.
13. Show me your ears! Put your pictures on Instagram and tag me @msstephsunshine

Share this:


Leave a Comment
I love reading comments! I'll do my best to answer questions, too. If you made the recipe, please leave a star rating, it helps support the blog so I can make more recipes and articles. Thank you!
says