
Vegan Sugar Cookies with Buttery Icing
October 27, 2020

Some of my favorite childhood Christmas memories are of the holiday cookies. Each member of my dad's side of the family would make one or two types of cookies each year and bring them to my grandmother's house. In the basement were two long folding tables with endless tins of cookies of all types. After dinner, my grandmother would let us go downstairs and pick whatever Christmas cookies we wanted.
We also got to participate in making some of the cookies. As children, that usually meant roll-out sugar cookies that we got to decorate.
In an attempt to continue the tradition, I had tried many vegan sugar cookie recipes out there. For the most part, they were bland and dry. While they could be fun to decorate, they weren't so great to eat. So I put on my baker's hat to fix that.
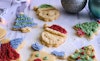
These sugar cookies are flavorful, with the perfect texture. I created the icing with melted vegan butter, salt, and vanilla to give it a rich flavor. They're by far the best vegan sugar cookies of the recipes I've tried. (If you prefer your cookies to have the look that smoother icing provides, just skip the butter and add some more non-dairy milk until the icing reaches your desired consistency. You'll lose some flavor, but the icing will have a smoother look!)
Be sure that any food coloring or sprinkles that you use are vegan; many food colors contain animal products. I was able to find vegan food coloring and sprinkles at Whole Foods Market, or you can order it online.
If you enjoyed these sugar cookies and you're looking for even more great vegan cookie recipes, be sure to check out my collection of vegan Christmas cookie recipes! Or, if you prefer a chewy sugar cookie with a matcha flair, try my vegan matcha sugar cookies.
Vegan Sugar Cookies with Buttery Icing
Yield4 dozen 2-3" cookies
Prep Time30 minutes
Cook Time8 minutes
Total Time1 hour, 30 minutes
Ingredients
- 1 cup plus 1 tbsp. vegan granulated sugar
- 6 tbsp. aquafaba (liquid from a can of chickpeas)
- 1/2 tbsp. vanilla extract
- 2 3/4 cup all-purpose flour, plus more for coating and rolling
- 1 tsp. baking powder
- 1/2 tsp. salt
- vegan sprinkles (optional)
Buttery Icing
- 1/3 cup vegan butter, melted
- 3 cup vegan powdered (icing/confectioner's) sugar
- 2-4 tbsp. plain, unsweetened almond milk (or other non-dairy milk)
- 3/4 tsp. vanilla extract
- 1/8 tsp. salt
- vegan food coloring (optional)
Instructions
Beat vegan butter until light and fluffy (preferably using a stand mixer with the paddle attachment or hand mixer, but you can do this by hand in a large bowl as well).
Add granulated sugar to the vegan butter, and continue to beat until well-incorporated. If using an electric mixer, be sure to stop occasionally to scrape down the sides of the bowl with a spatula.
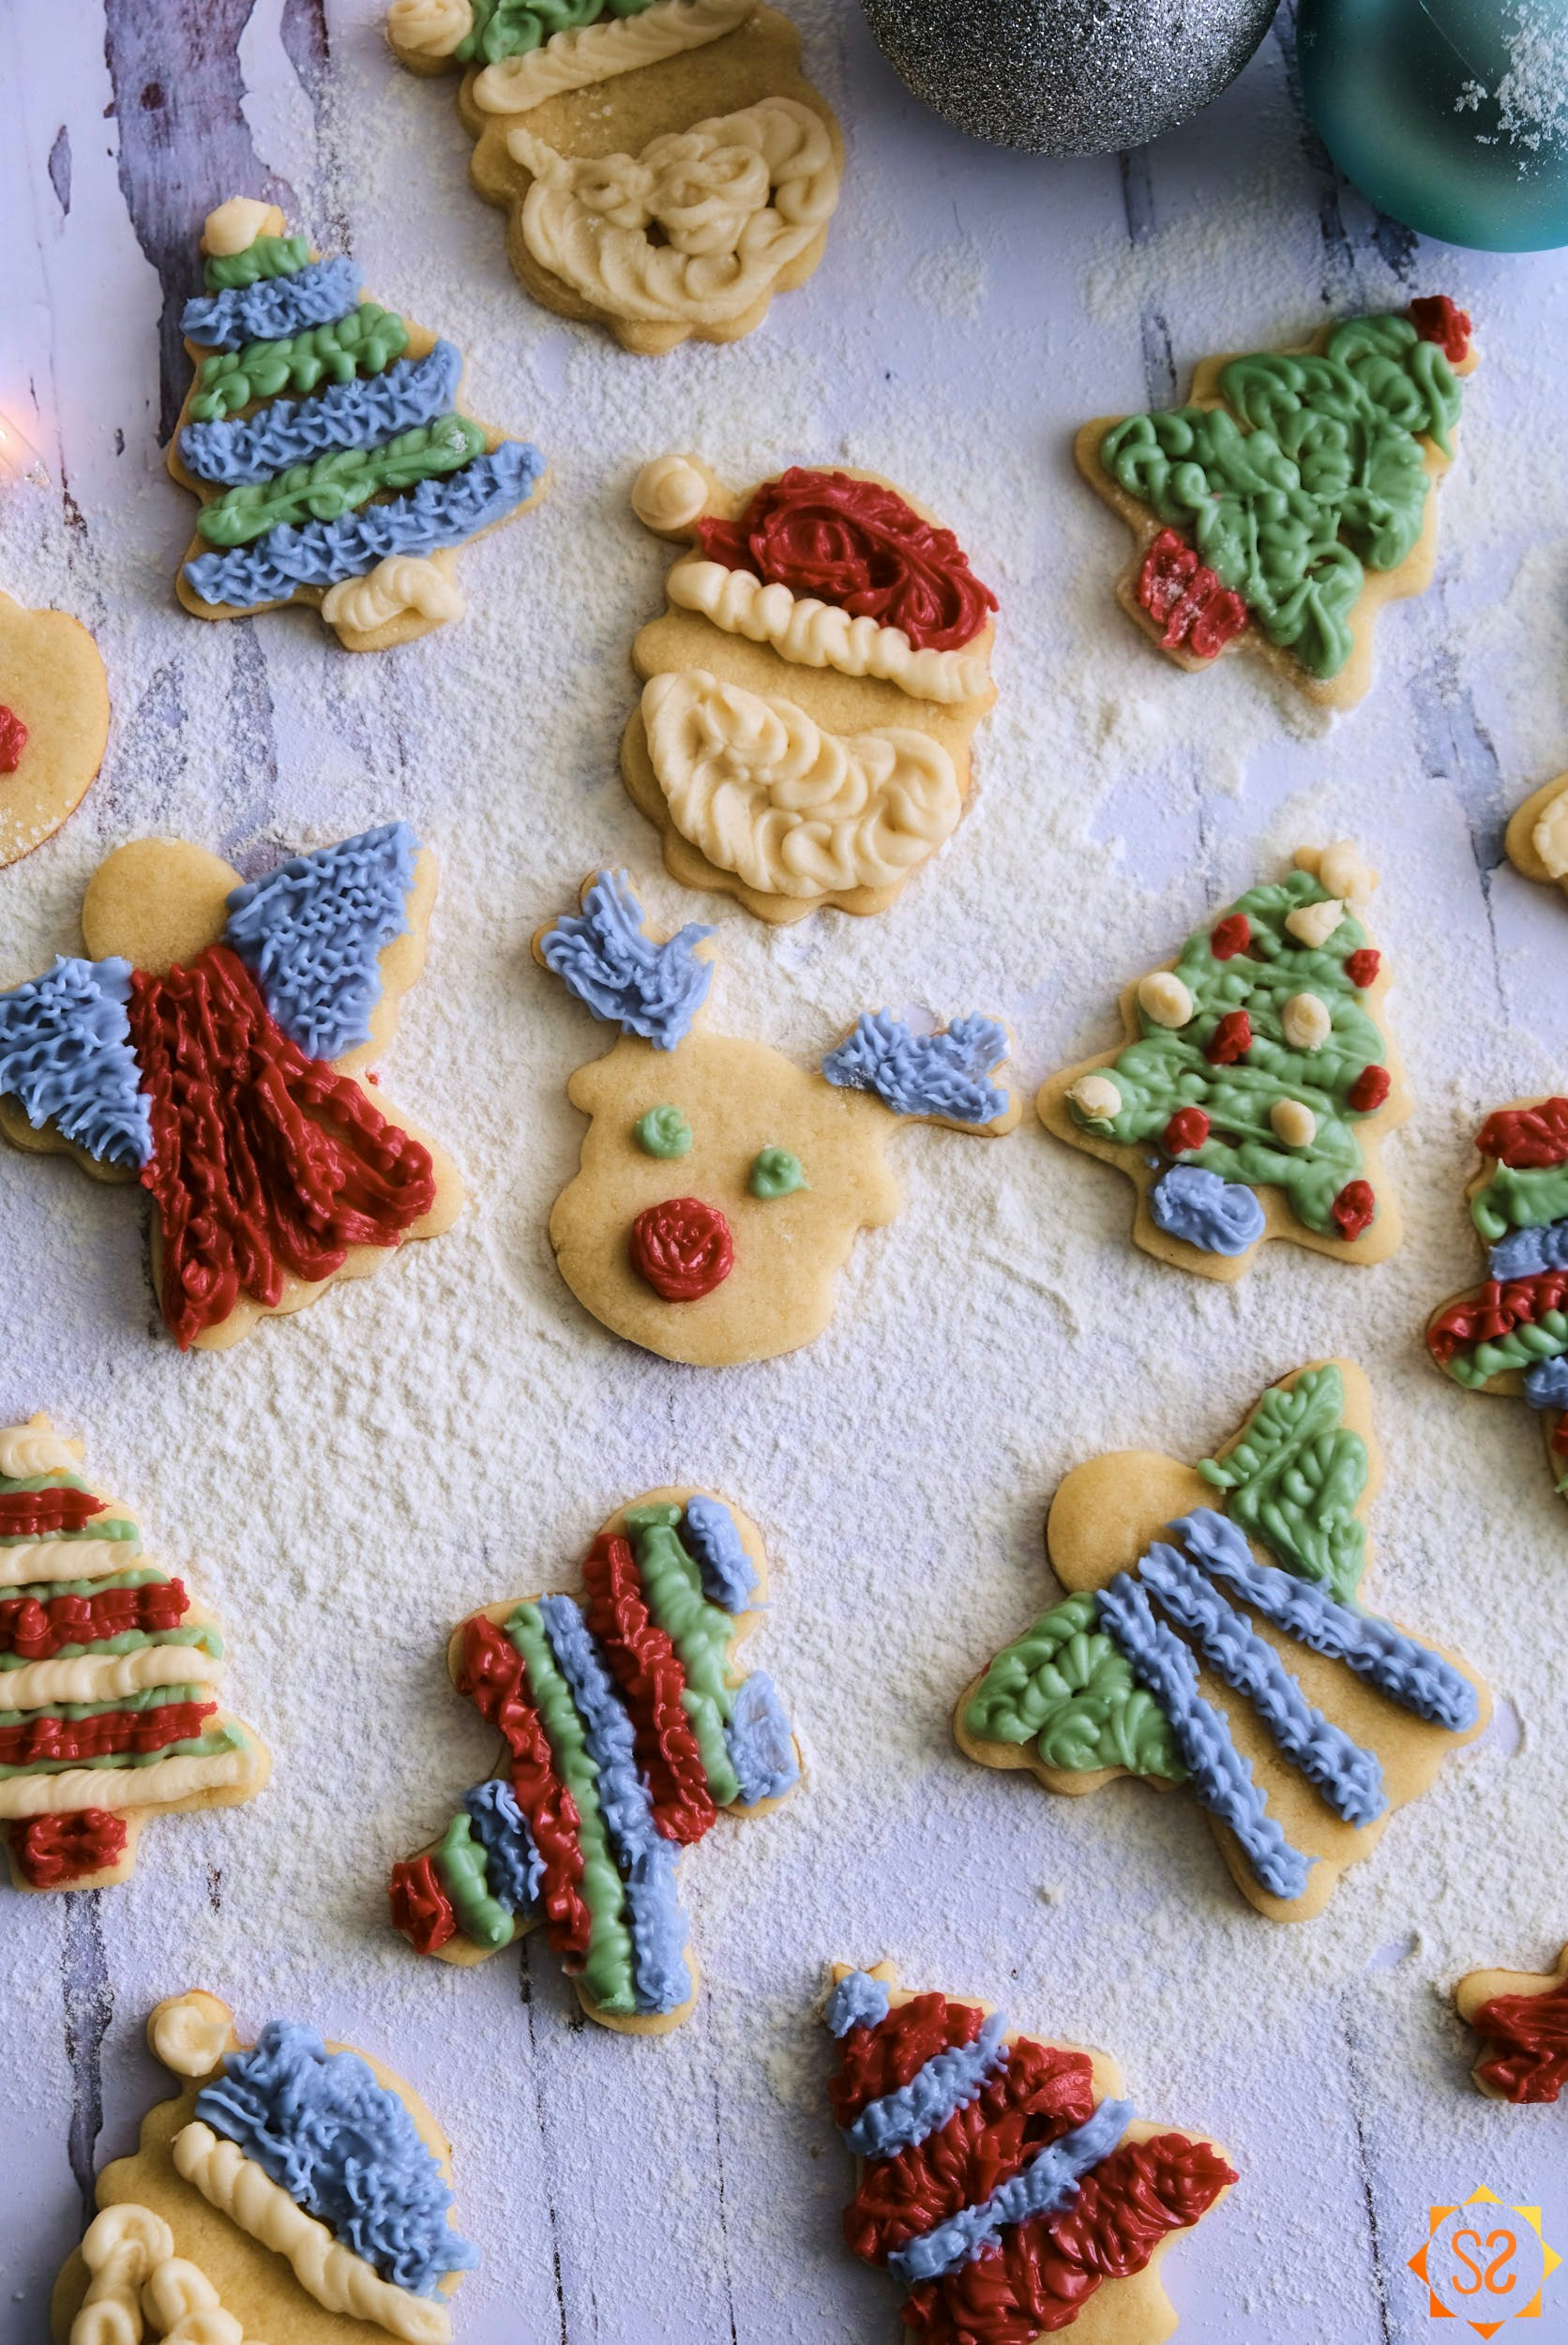
![Butter and sugar mixed with electric mixer]() Mixed butter and sugar
Mixed butter and sugarAdd in aquafaba and 1 1/2 tsp. vanilla, and continue mixing.
Add in baking powder, 1/2 tsp. salt, and 1 cup of flour. Once that’s well-incorporated, continue adding flour until it’s all mixed together.
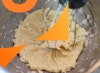
Divide the dough into 2 balls, and flour the outsides of the balls so they won’t stick, then place them in 2 separate bowls. Cover the bowls with plastic wrap and refrigerate for about an hour.
![Cookie dough in bowls]() Be sure to put adequate flour at the sides and bottom of the dough so it doesn't stick to the bowl.
Be sure to put adequate flour at the sides and bottom of the dough so it doesn't stick to the bowl.Once the dough has chilled, preheat the oven to 400°F (205°C). Then place a rolling mat or large piece of parchment paper on a flat surface. Dust the work surface with flour.
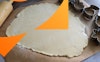
Take one ball of dough from the refrigerator and place it on the prepared work surface. Sprinkle some flour on the dough, and use a rolling pin to roll the dough out to about 1/4” thickness.
![Rolled dough with rolling pin and cookie cutters]() Roll the dough to approximately 1/4" thickness. Adding flour on top when needed will prevent the rolling pin from sticking.
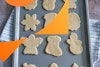
Roll the dough to approximately 1/4" thickness. Adding flour on top when needed will prevent the rolling pin from sticking.Dip the edges of your cookie cutters in flour, then use them to cut your cookies from the dough. If you don’t have shape cookie cutters, you can use the top of a glass to make standard circle shapes. Place cookies 1/2” apart on an ungreased non-stick cookie sheet. When you run out of contiguous dough to cut shapes from, you can take the remaining dough, roll it into a ball, then roll it out and cut more. Repeat with the second ball of dough.
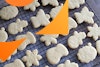
![Cut cookie dough on a baking sheet]() Be sure to allow at least 1/2-inch of space between your cookies.
Be sure to allow at least 1/2-inch of space between your cookies.(Optional) If you don’t plan on icing your sugar cookies, you may wish to decorate them with colored sugar or other sprinkles. Top your cookies with sprinkles as desired before baking them.
When you have a full cookie sheet, bake it for 5-8 minutes, until the edges are light golden brown. Then transfer the cookies to a wire rack to cool and continue with additional cookies. (You will want to have 2-4 cookie sheets to allow the sheets to cool before putting more cookie dough on them.)
![Cookies cooling on a cooling rack]() Allow your cookies to cool completely before icing.
Allow your cookies to cool completely before icing.(Optional) While cookies are baking, prepare the icing in a stand mixer or small mixing bowl by whisking together melted vegan butter, powdered sugar, vanilla, and salt. Add non-dairy milk 1 tbsp. at a time, until you reach the desired consistency. It should be thin enough to spread easily, but thick enough that it won’t run off your cookies. If you’re planning to add liquid food coloring, you may wish to leave the icing on the thicker side to allow for the thinning that the food coloring may cause. To make multiple colors, divide the icing before coloring.
(Optional) Once your cookies have cooled (around 30 minutes), decorate them with icing. You can use a butter knife to spread the icing on top of the cookies, or you can use a piping bag with small decorator tips to place the icing exactly where you want it. Top with colored sprinkles, if desired. Leave the cookies out until the icing dries (a few hours).
Notes & Hints
If you prefer your cookies to have the look that smoother icing provides, just skip the butter and add some more non-dairy milk until the icing reaches your desired consistency. You'll lose some flavor, but the icing will have a smoother look!
One batch of icing will allow you to decorate your cookies but not cover them fully with icing; make 2 batches if you want all your cookies fully covered.
Storage: Sugar cookies can be stored in an airtight container for about a week. They can be frozen for longer storage.
Nutrition Data
Serving Size: 1/24 of recipe; Calories: 217; Fat: 8 g.; Saturated Fat: 6 g.; Cholesterol: 0 mg.; Sodium: 91 mg.; Carbohydrates: 34 g.; Fiber: 0 g.; Sugar: 23 g.; Protein: 1 g.; Vitamin A: 1 mcg. RAE; Vitamin B12: 0 mcg.; Vitamin C: 0 mg.; Vitamin D: 0 mcg.; Calcium: 11 mg.; Iron: 0 mg.; Potassium: 6 mg.; Zinc: 0 mg.Note: This data should be used only as an estimate. Please see the nutrition section of my terms and conditions for more information on how this data is calculated.


Vegan recipes in your inbox
Join the community and get my newest and best yummy vegan recipes sent right to your email!

Share this:


Watch this as a video instead:


Leave a Comment
I love reading comments! I'll do my best to answer questions, too. If you made the recipe, please leave a star rating, it helps support the blog so I can make more recipes and articles. Thank you!
says