Vegan Peanut Butter Cups
October 13, 2025
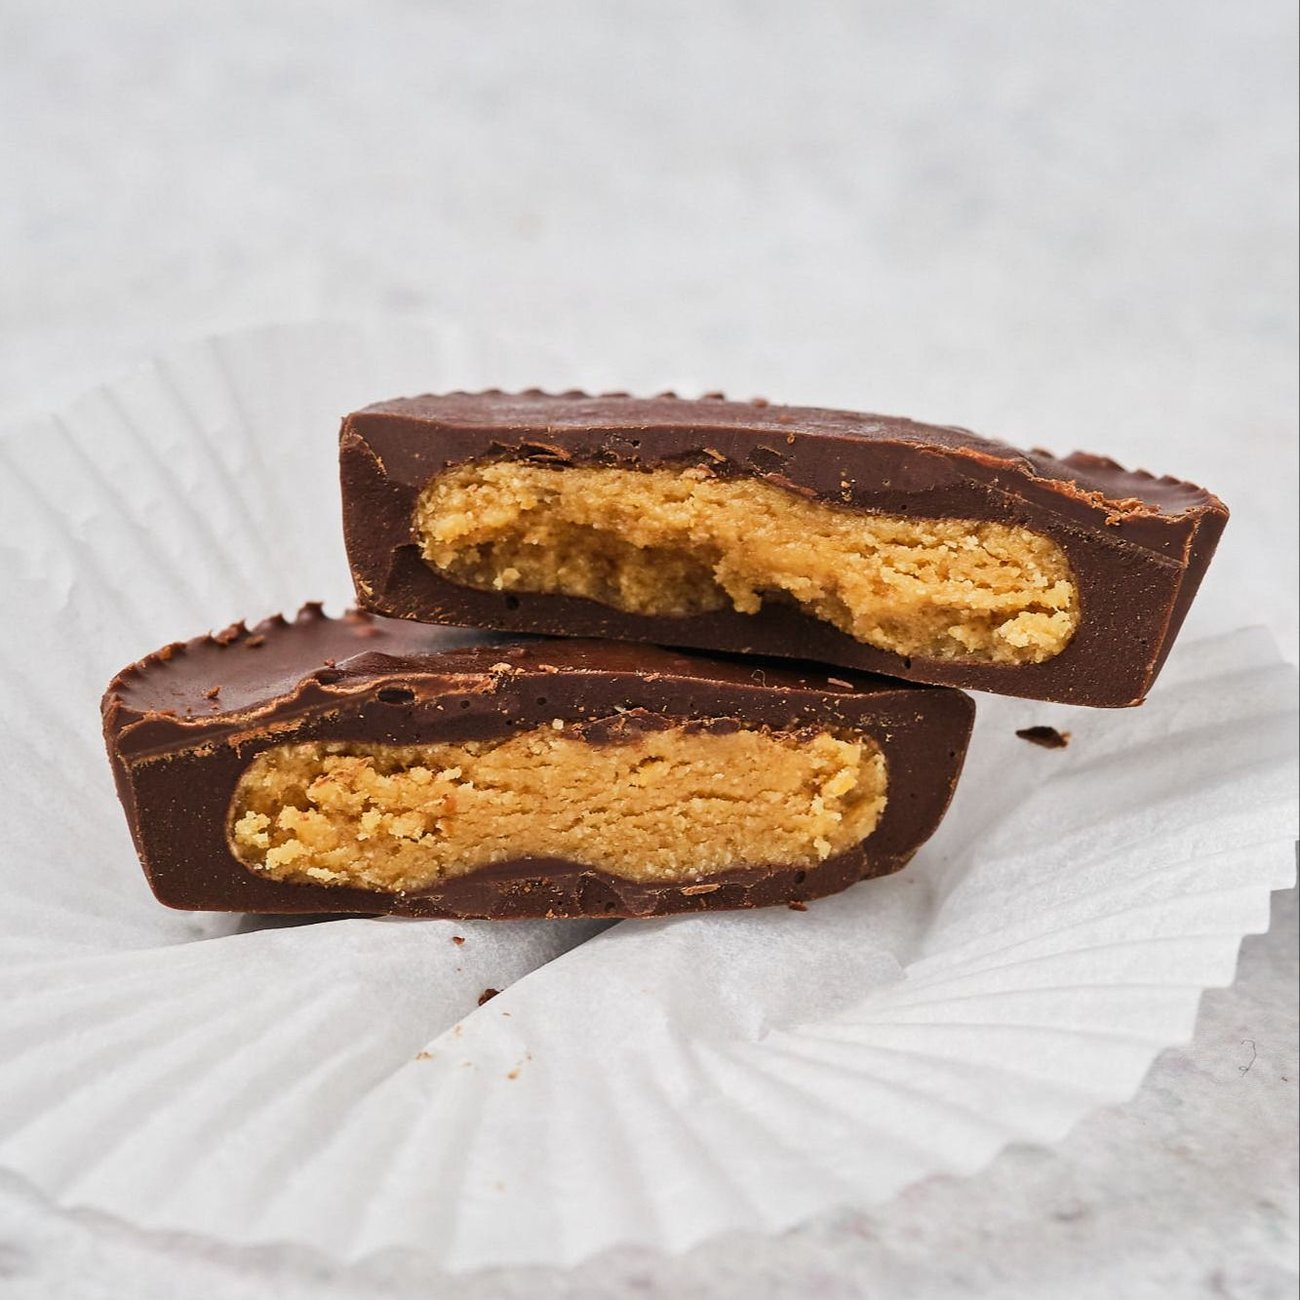
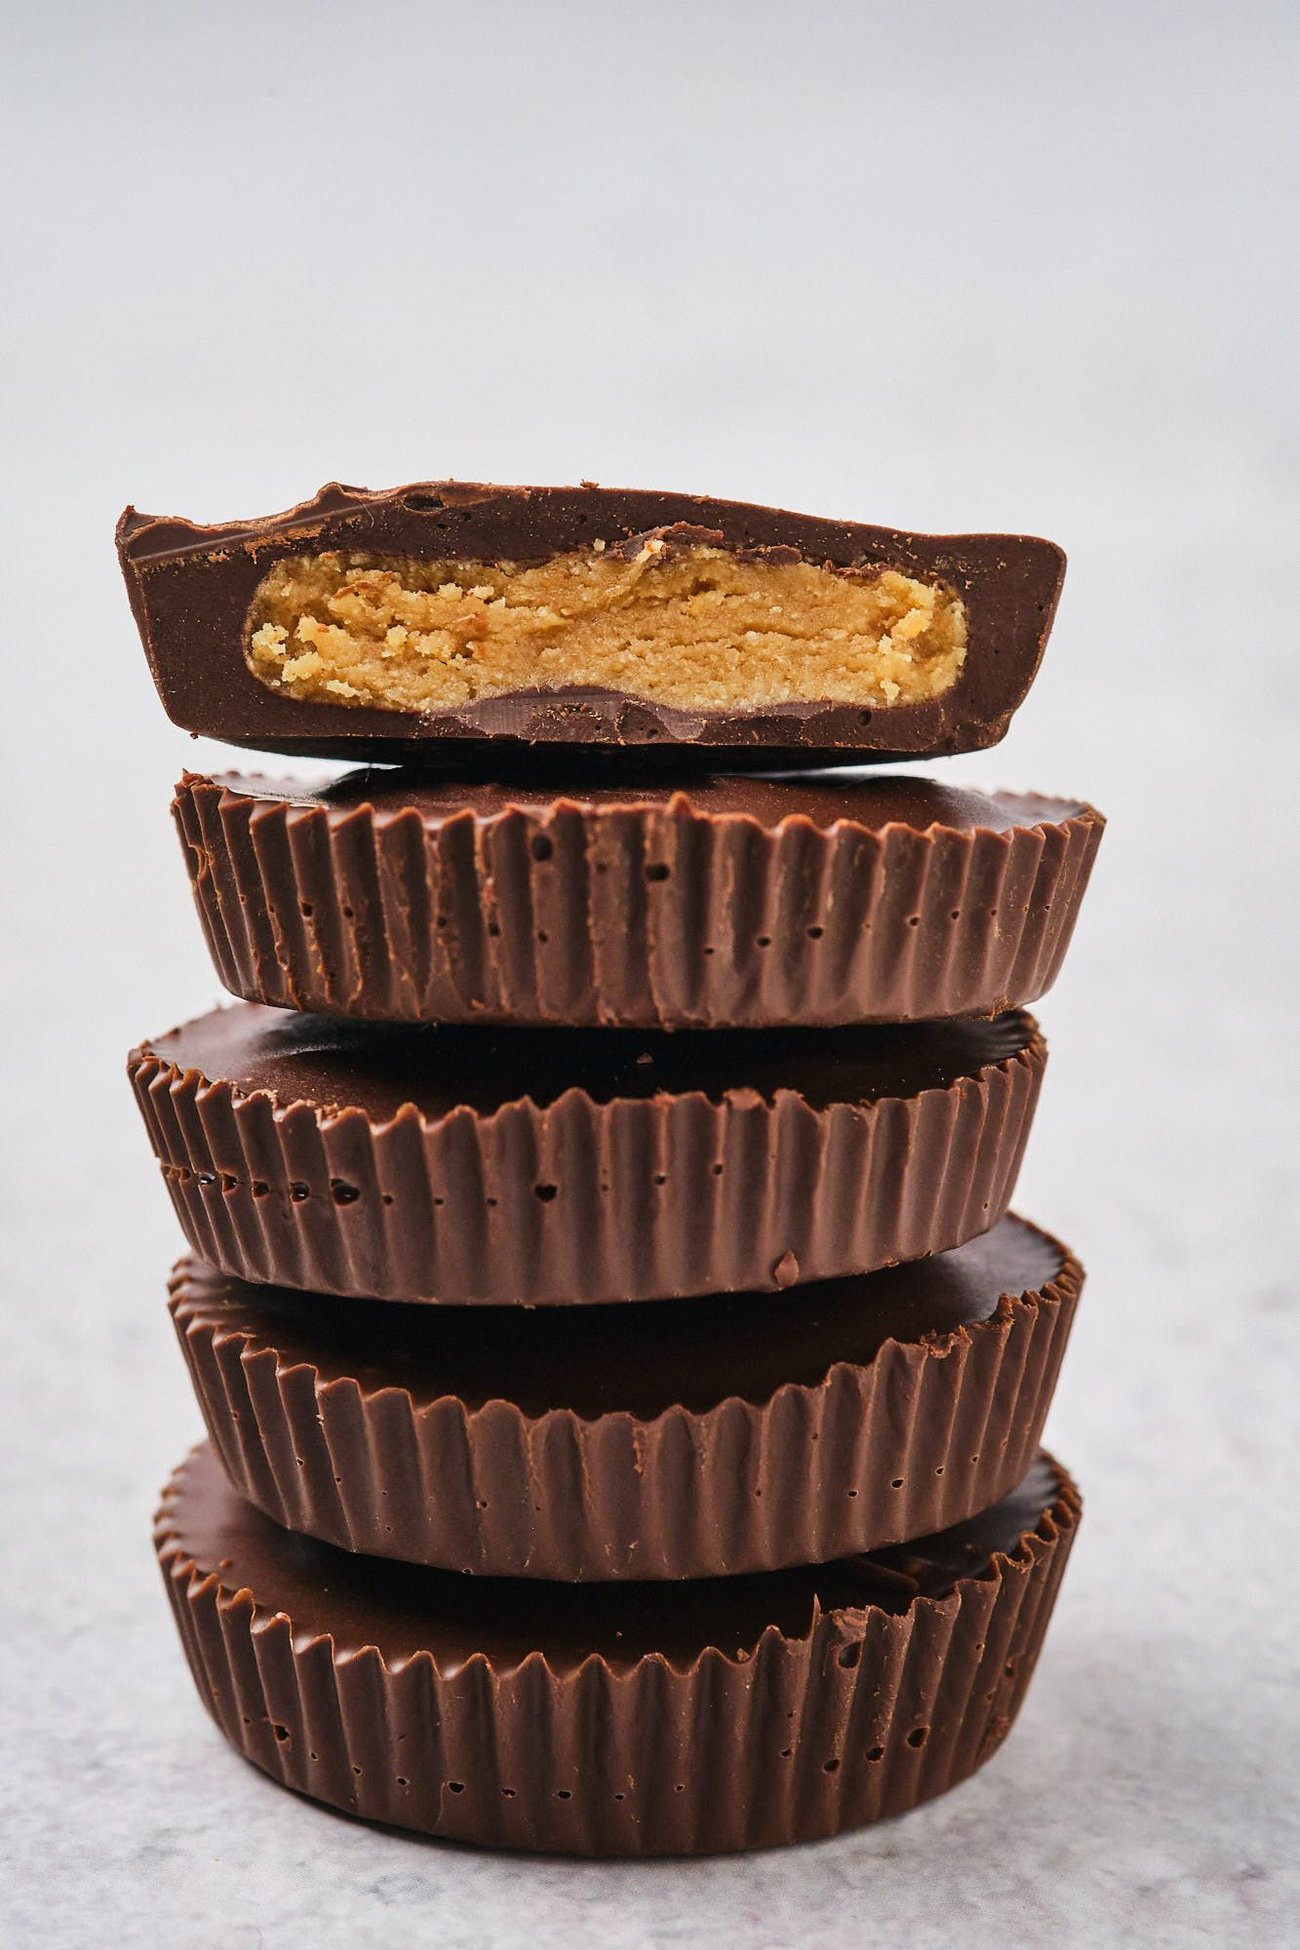
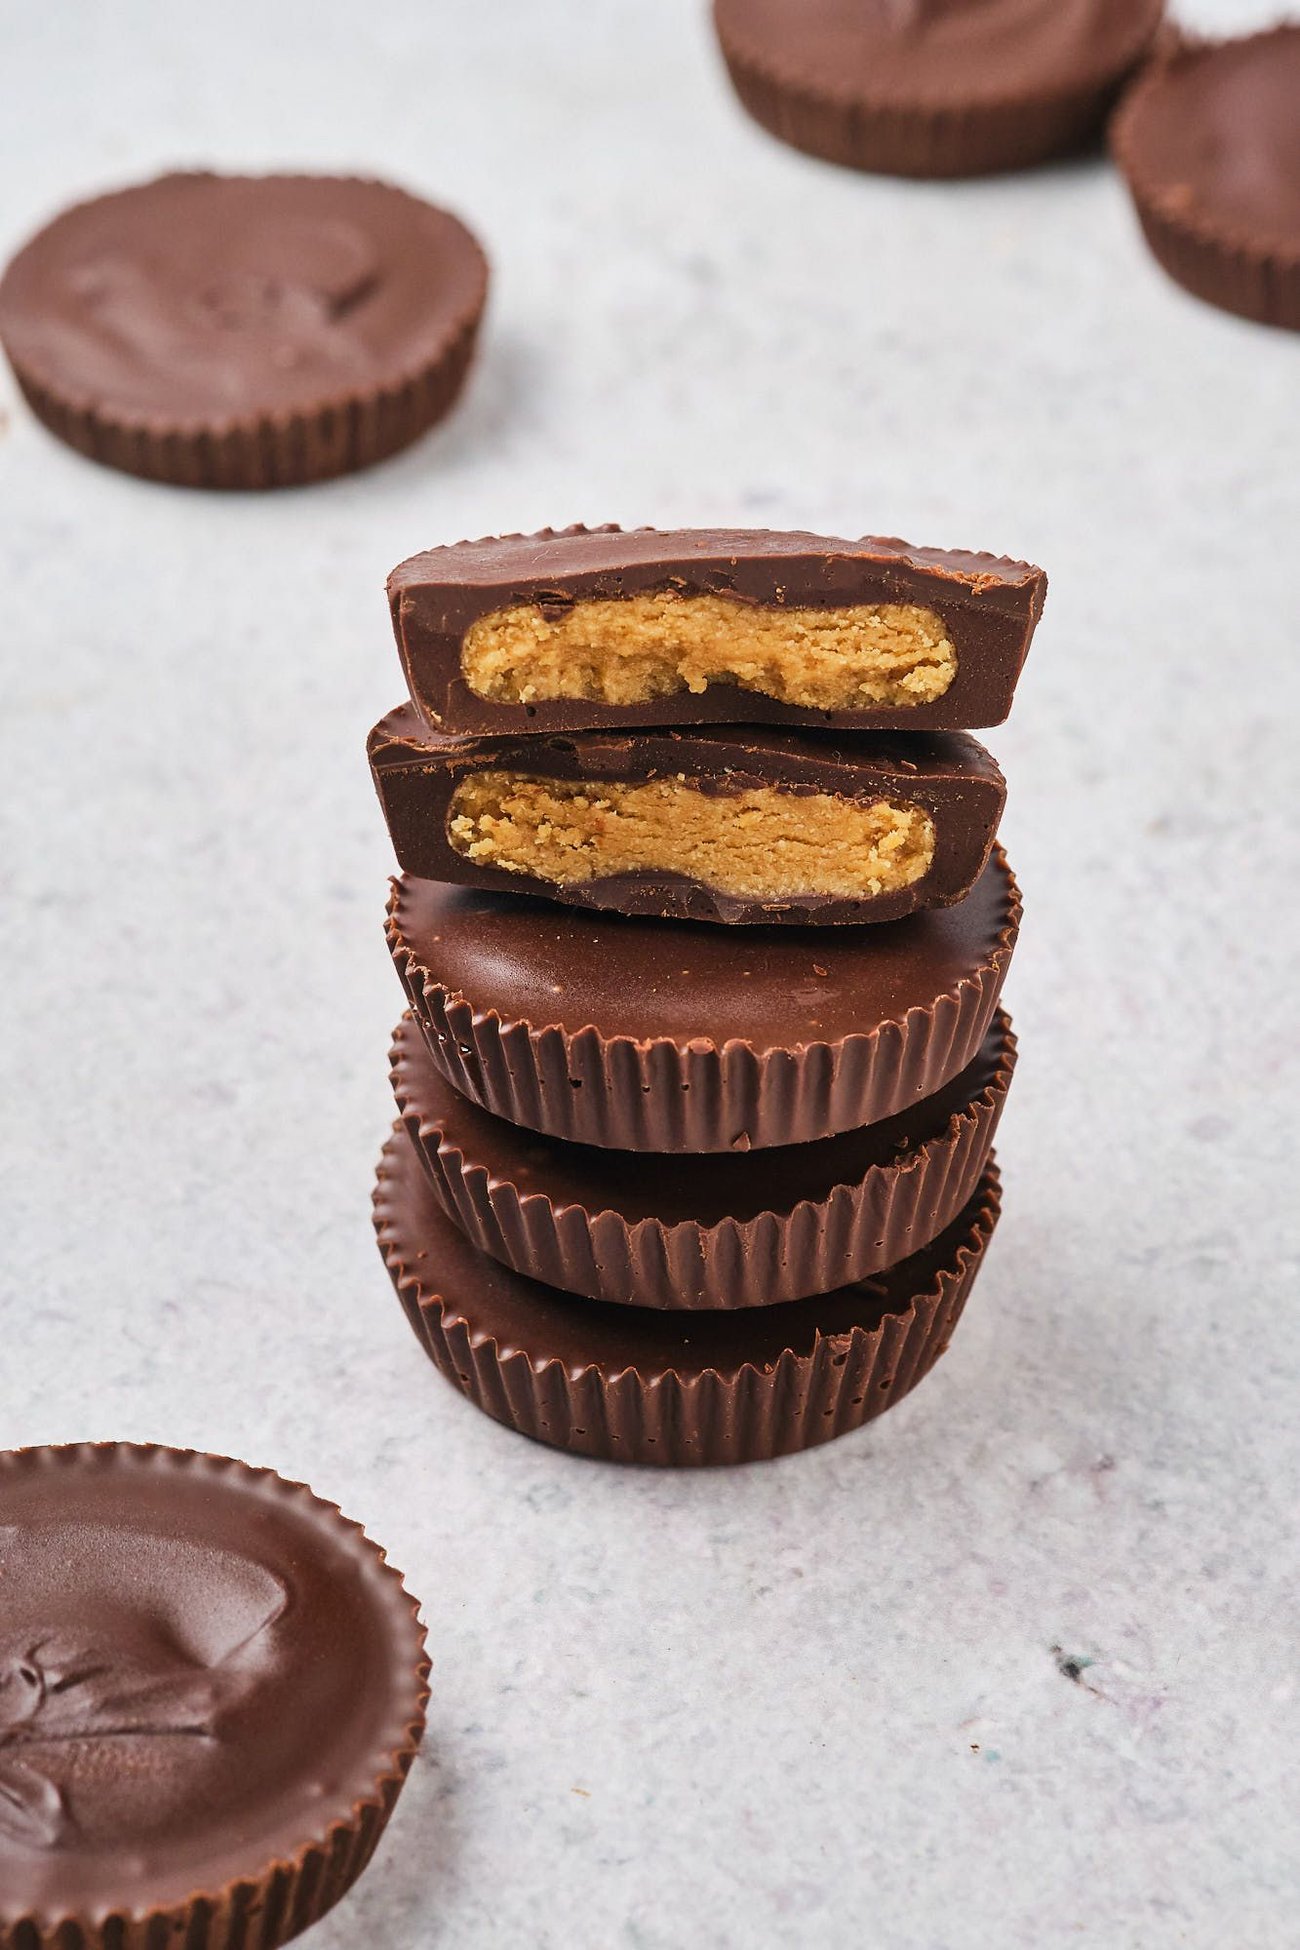
With a rich, slightly crumbly peanut butter filling and dark chocolate shell, these peanut butter cups satisfy your sweet tooth without the dairy. They taste even better than store-bought vegan options, and they're incredibly easy to make!
I almost didn't publish this recipe. Originally, I wanted to make a vegan Reese's peanut butter cup copycat recipe, and although the filling in this recipe is on point, it has a dark chocolate shell instead of an (oat) milk chocolate one.
Although they're not an exact replica, I couldn't stop eating these vegan peanut butter cups. They satisfy that chocolate and peanut butter craving in a way that those expensive store-bought versions just don't. So I decided I can't not share this recipe, because it's that good.
What makes this recipe so delicious is its peanut butter filling. Instead of a creamy, bland peanut butter filling, this one is rich and slightly crumbly, like the original candy bar. Even better, we're getting that delicious flavor and texture with natural peanut butter, maple syrup, and oat flour (instead of refined white sugar).
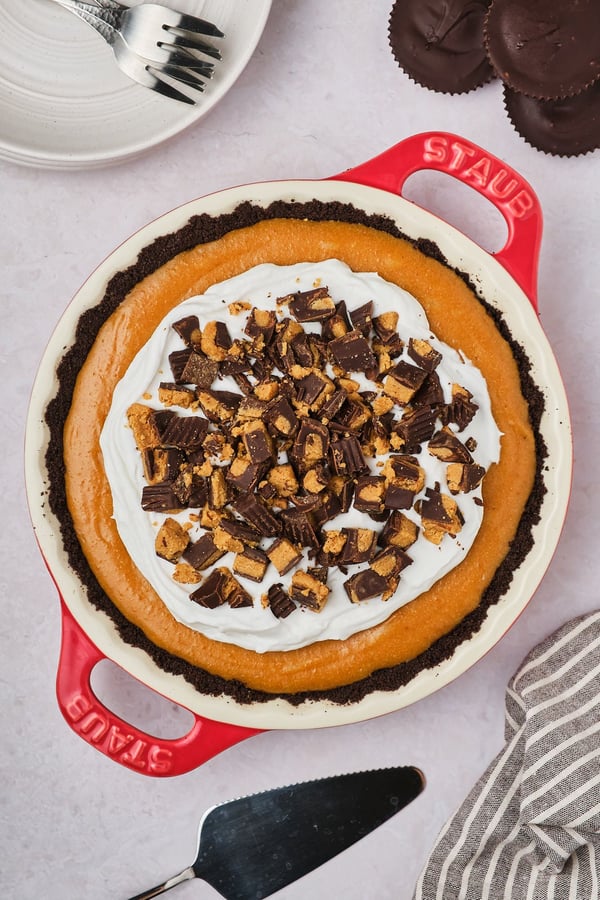
These peanut butter cups are delicious on their own, but they're also great crumbled on top of a creamy vegan peanut butter pie.

Ingredient Notes & Substitutions
This recipe is incredibly simple, and since it's just five ingredients, the quality of your ingredients directly impacts the flavor of the finished result. This section has more information about what kind of ingredients to look for and whether you can substitute another ingredient instead.
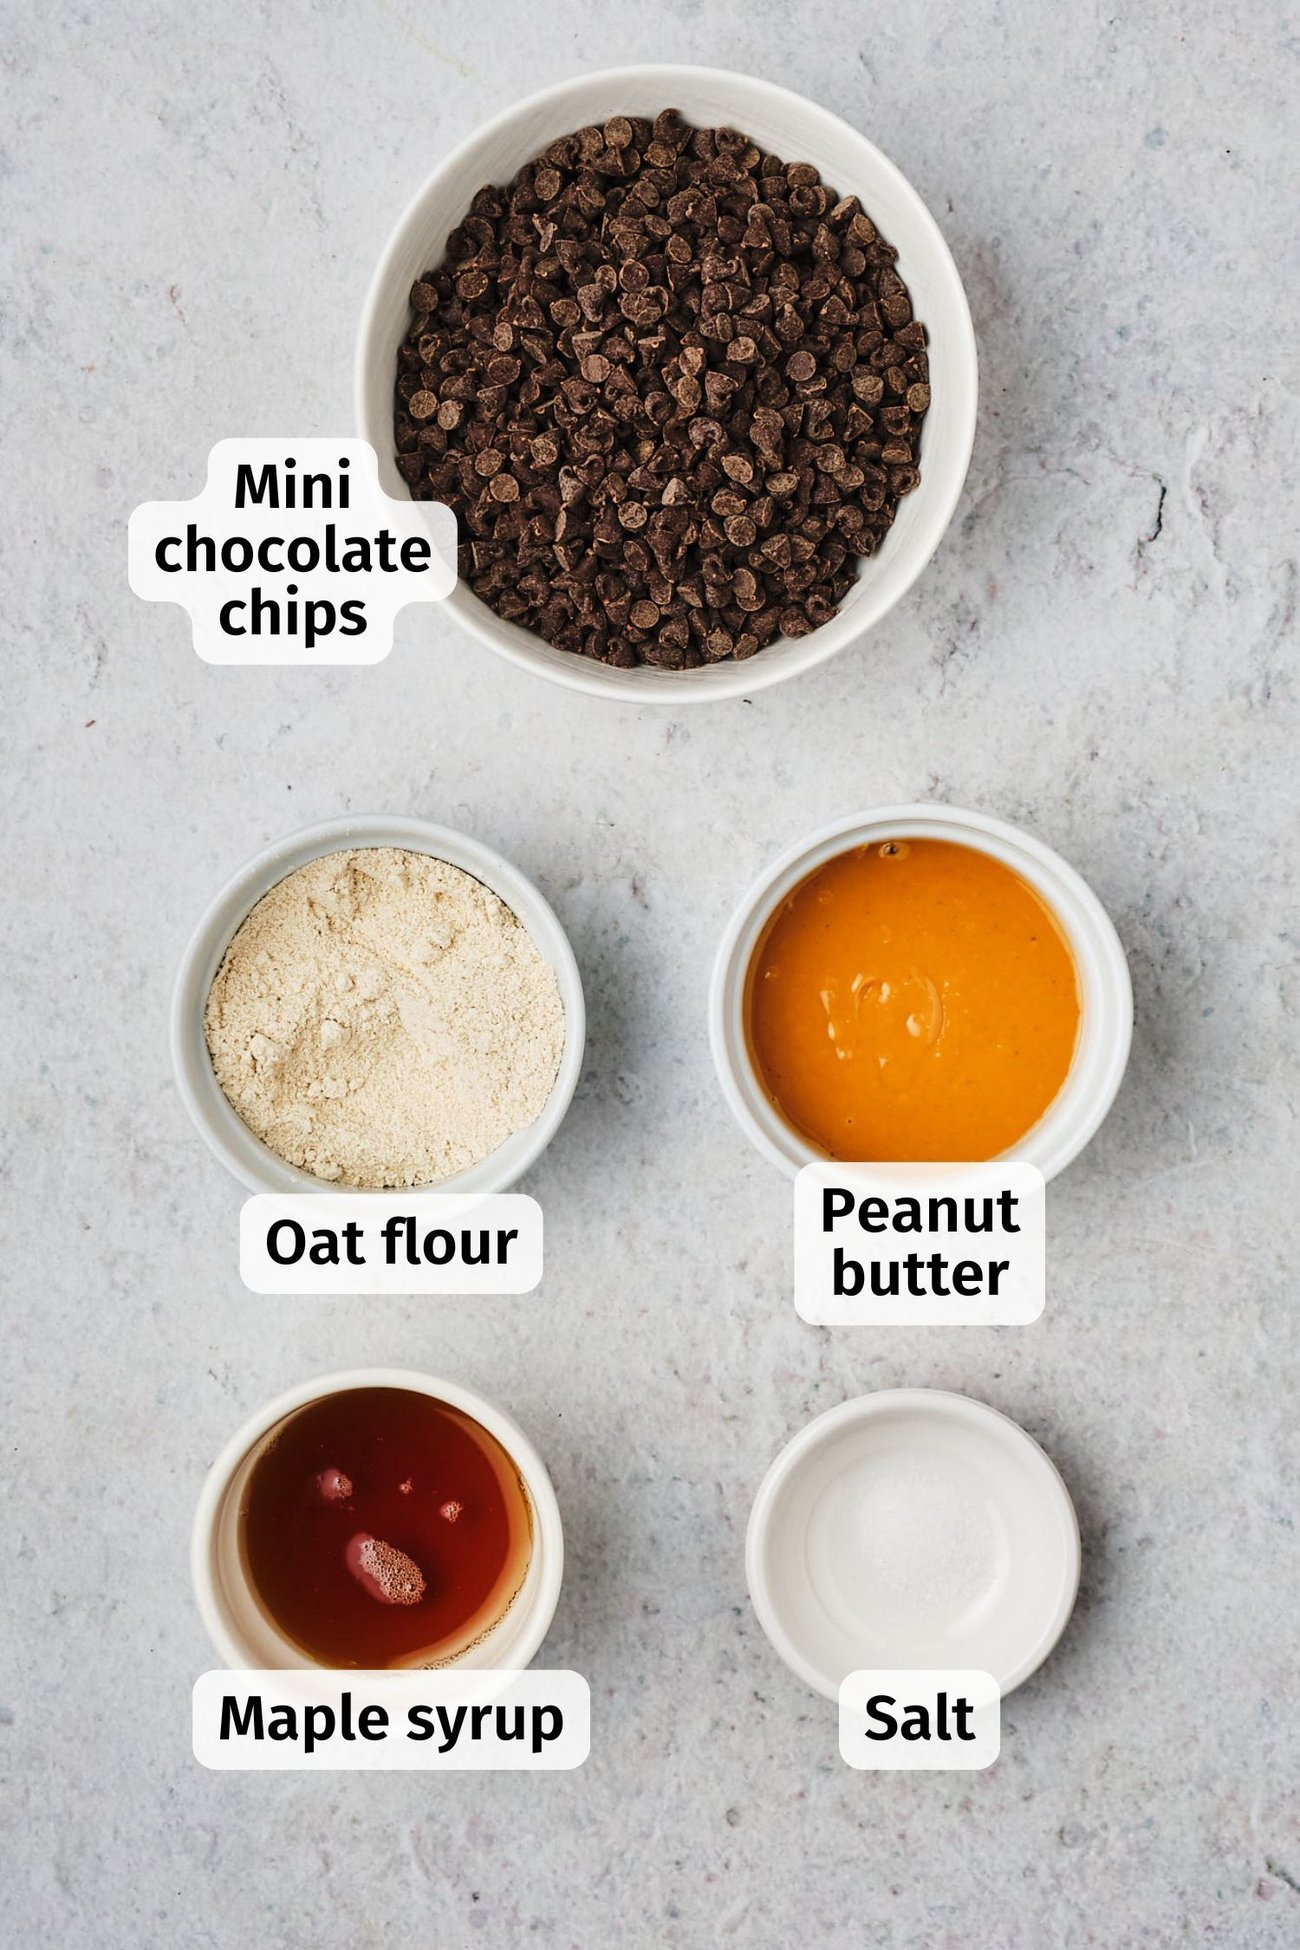
creamy, unsweetened peanut butter: For this recipe, I used natural peanut butter with just salt and peanuts. I tested several brands with good results; in the US, Santa Cruz and Trader Joe's are good options. If you're also using unsalted peanut butter, add an extra 1/8 teaspoon of salt to your filling.
maple syrup: This sweetens the peanut butter filling, while its warm flavor perfectly complements the rich peanuts. You could also use agave in this recipe, but the flavor won't be as rich.
salt: A little bit of salt is critical in this recipe to balance its sweetness and enhance all the flavors. I used sea salt, but pink salt or table salt also work.
oat flour: This helps to firm up the peanut butter filling and also creates the iconic slightly crumbly texture that Reese's peanut butter cups have. You can find oat flour in the baking section of most natural grocery stores. You could also blend rolled oats into a fine powder in your blender to make your own oat flour.
vegan mini chocolate chips: Since more than half of this recipe is chocolate, it's important to choose a high-quality chocolate. I used Cacao Barry's 50% cacao chocolate drops. If you want to keep your peanut butter cups free of refined sugar, use your favorite brand like Lakanto, Lily's, or ChocZero.
Tips for the Best Homemade Peanut Butter Cups
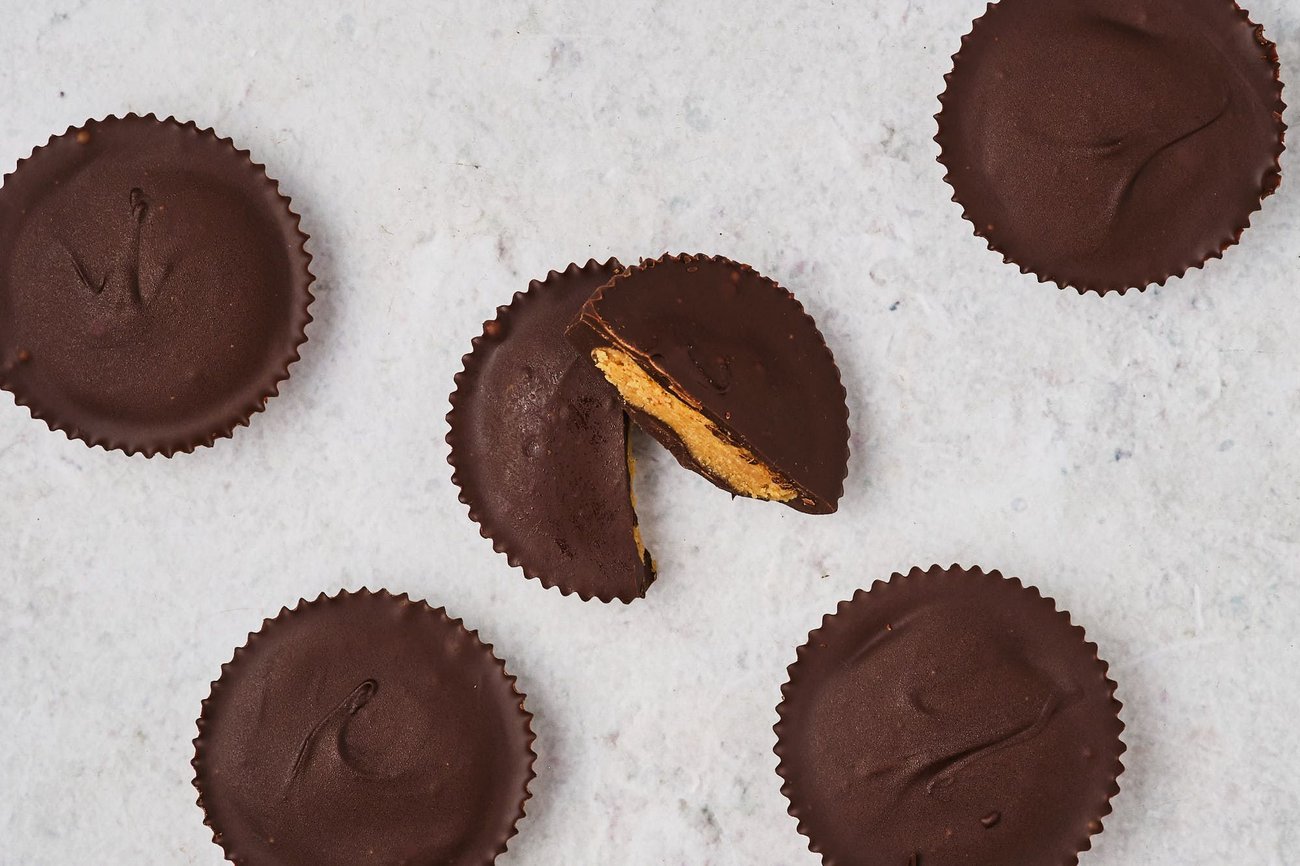
For smooth tops: When you top your peanut butter cups with chocolate, it may be difficult to get a smooth top with just a spoon. I recommend giving the pan a few shakes or taps to help the chocolate settle and smooth out.
Let them chill overnight: While your peanut butter cups will technically be ready to eat in under an hour, I recommend letting them rest in the refrigerator overnight. Both the flavor and the texture of the filling will develop during this time, and they'll be much tastier the next day!
Customizing Your Cups
Since you're making your peanut butter cups yourself, you can customize them any way you like. Here are some ideas to make these peanut butter cups your own.
Holiday shapes: Use your favorite molds to make these peanut butter cups in holiday-themed shapes, from pumpkins to Easter bunnies.
White chocolate: Instead of dark chocolate outside, melt vegan white chocolate to create the shells for these peanut butter cups. Or, swirl in half dark chocolate and half white chocolate.
Enhance the filling: Underneath or on top of your peanut butter, add a thin layer of vegan caramel, a pitted date, puffed rice, chopped peanuts, coconut shreds, graham crackers, or chopped Oreos.
Swap the filling: Instead of peanut butter, you can use almond butter, sunflower butter, or any nut butter you like.
Top them: Before the chocolate solidifies, you can add anything you like on top, like fleur de sel, coconut shreds, or even vegan sprinkles.
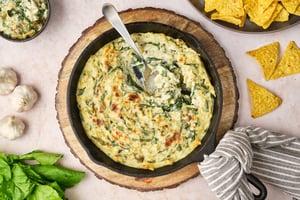
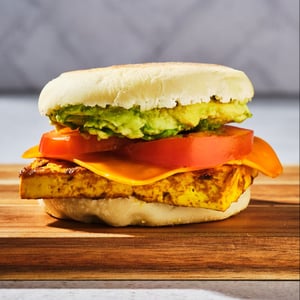
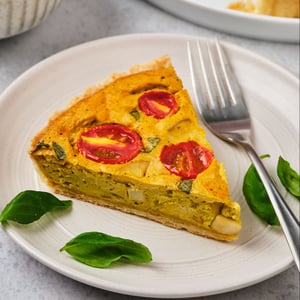
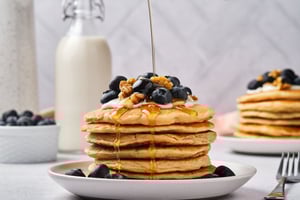
More Vegan Sweets
If you liked this recipe, you might like these other delicious vegan sweets and treats:
Watch This Recipe as a Video
Vegan Peanut Butter Cups
Yield8 peanut butter cups
Prep Time15 minutes
Cook Time5 minutes
Total Time1 hour
 Pin it
Ingredients
- 1/4 cup creamy, unsweetened peanut butter*
- 2 tablespoons maple syrup
- 1/4 teaspoon salt*
- 1/4 cup plus 2 tbsp. oat flour
- 1 1/4 cups vegan mini chocolate chips*
Instructions
Prepare a muffin tin with 8 paper liners.
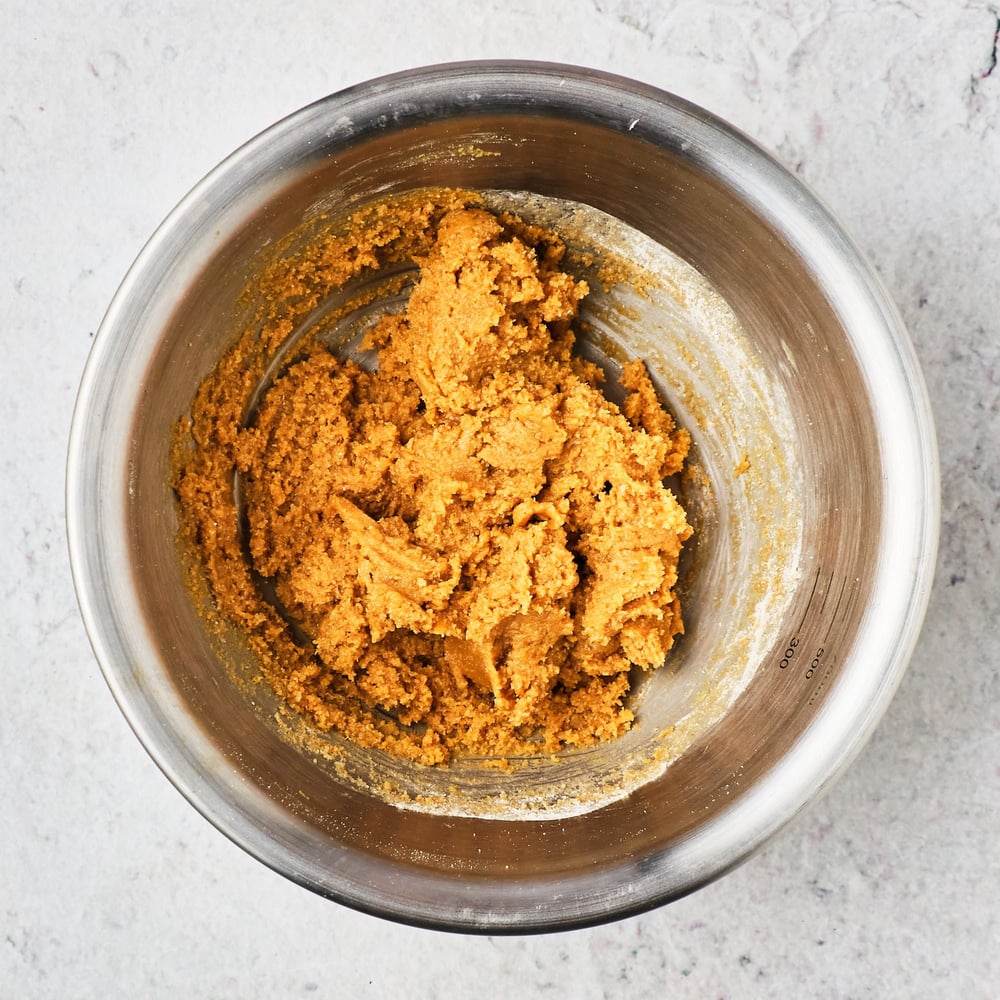
In a small mixing bowl, mix peanut butter, maple syrup, and salt until smooth and creamy. Then, stir in half of the oat flour until combined and repeat with the other half of the oat flour to form a dough. Your dough shouldn't be too dry, but it also shouldn't be gooey or stick to your fingers.*
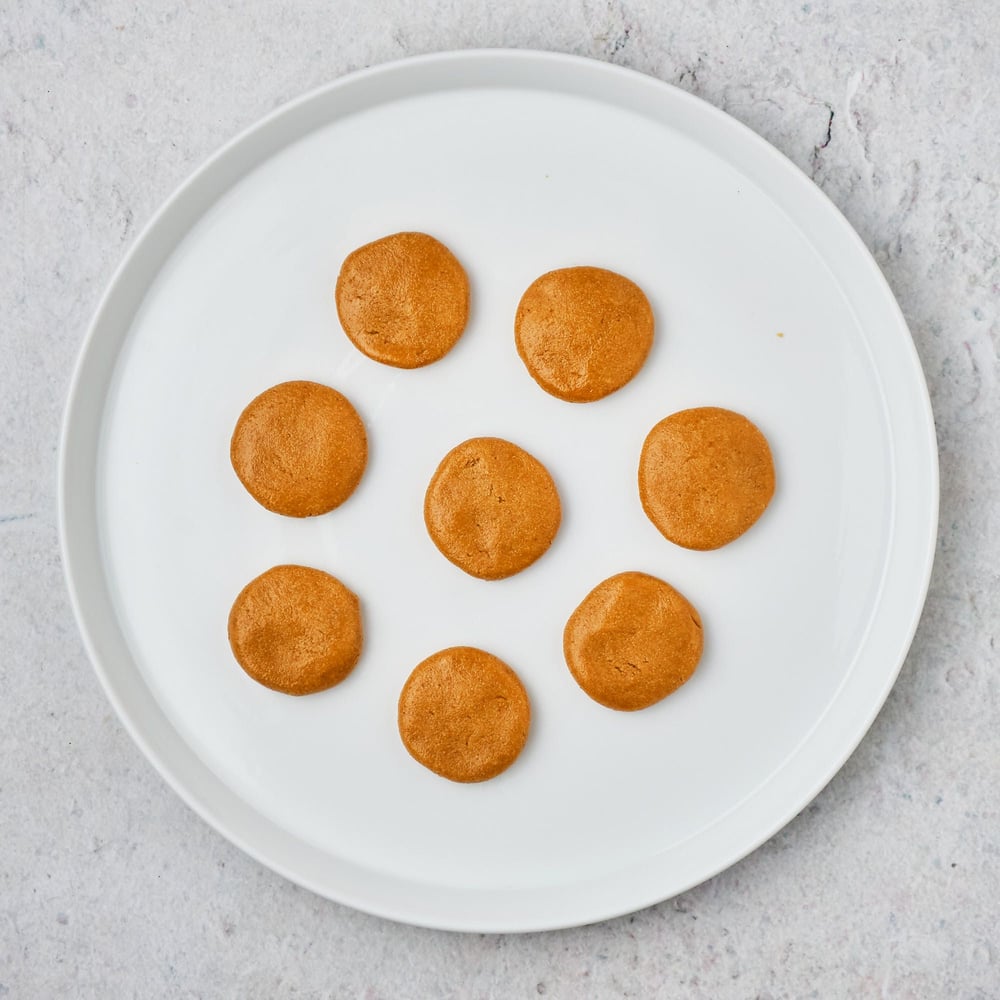
Divide your peanut butter dough into 8 equal balls (if you have a scale, each ball should be about 17 grams). Roll the balls in the palms of your hand to form a sphere, then flatten them into thick discs. When you're shaping your discs, make sure that they're smaller than the bottoms of your paper liners. You can place the discs on a large plate or a small baking tray until you're ready to use them.
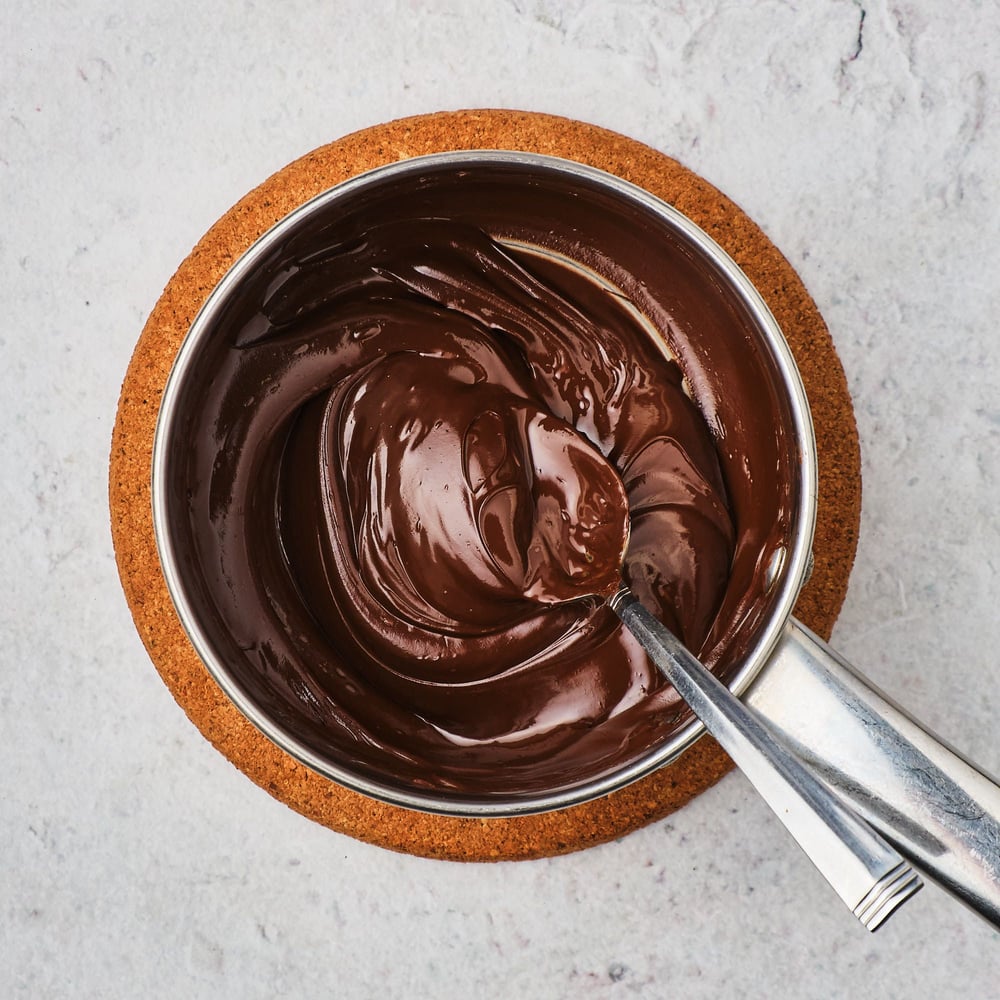
Melt your mini chocolate chips in a double boiler (a small pot over a larger pot of boiling water) or a microwave, stirring regularly until the chocolate is smooth.
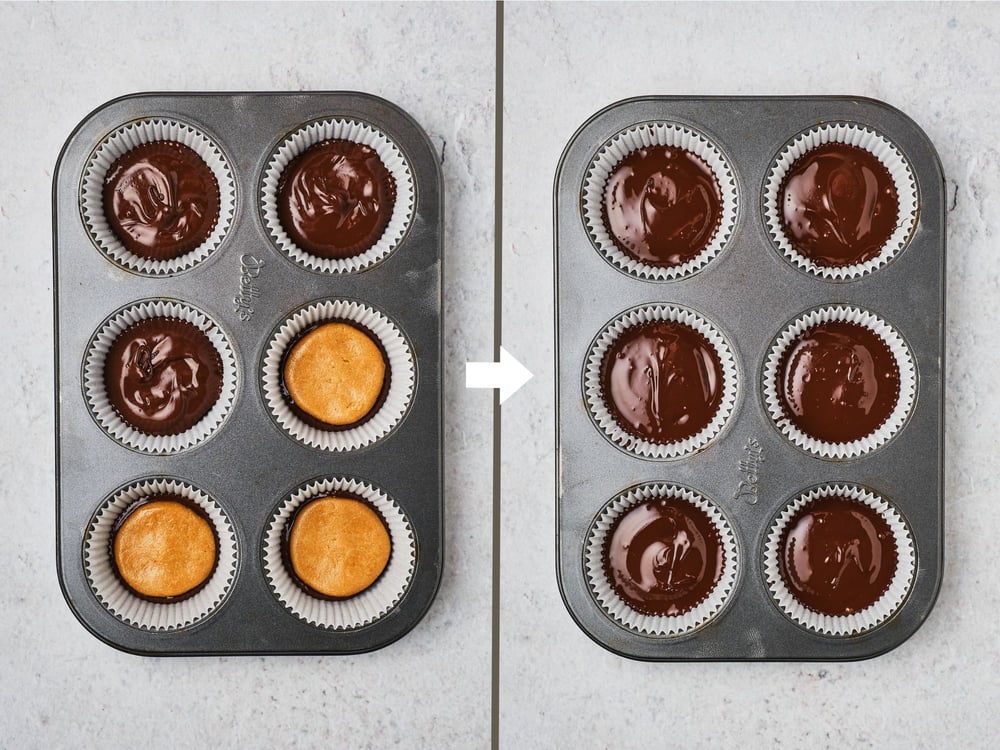
Use a spoon to place a small dollop of melted chocolate in each of the paper liners. Add just enough chocolate to cover the bottom of the liner with a thin layer of chocolate; you should have about half of the chocolate remaining after this step.
Place one peanut butter disc at the center of each liner, then gently press on the peanut butter to spread the chocolate underneath. Make sure the chocolate reaches the edges of the liners all the way around, but don't press so hard that the peanut butter reaches the bottom of the liner.
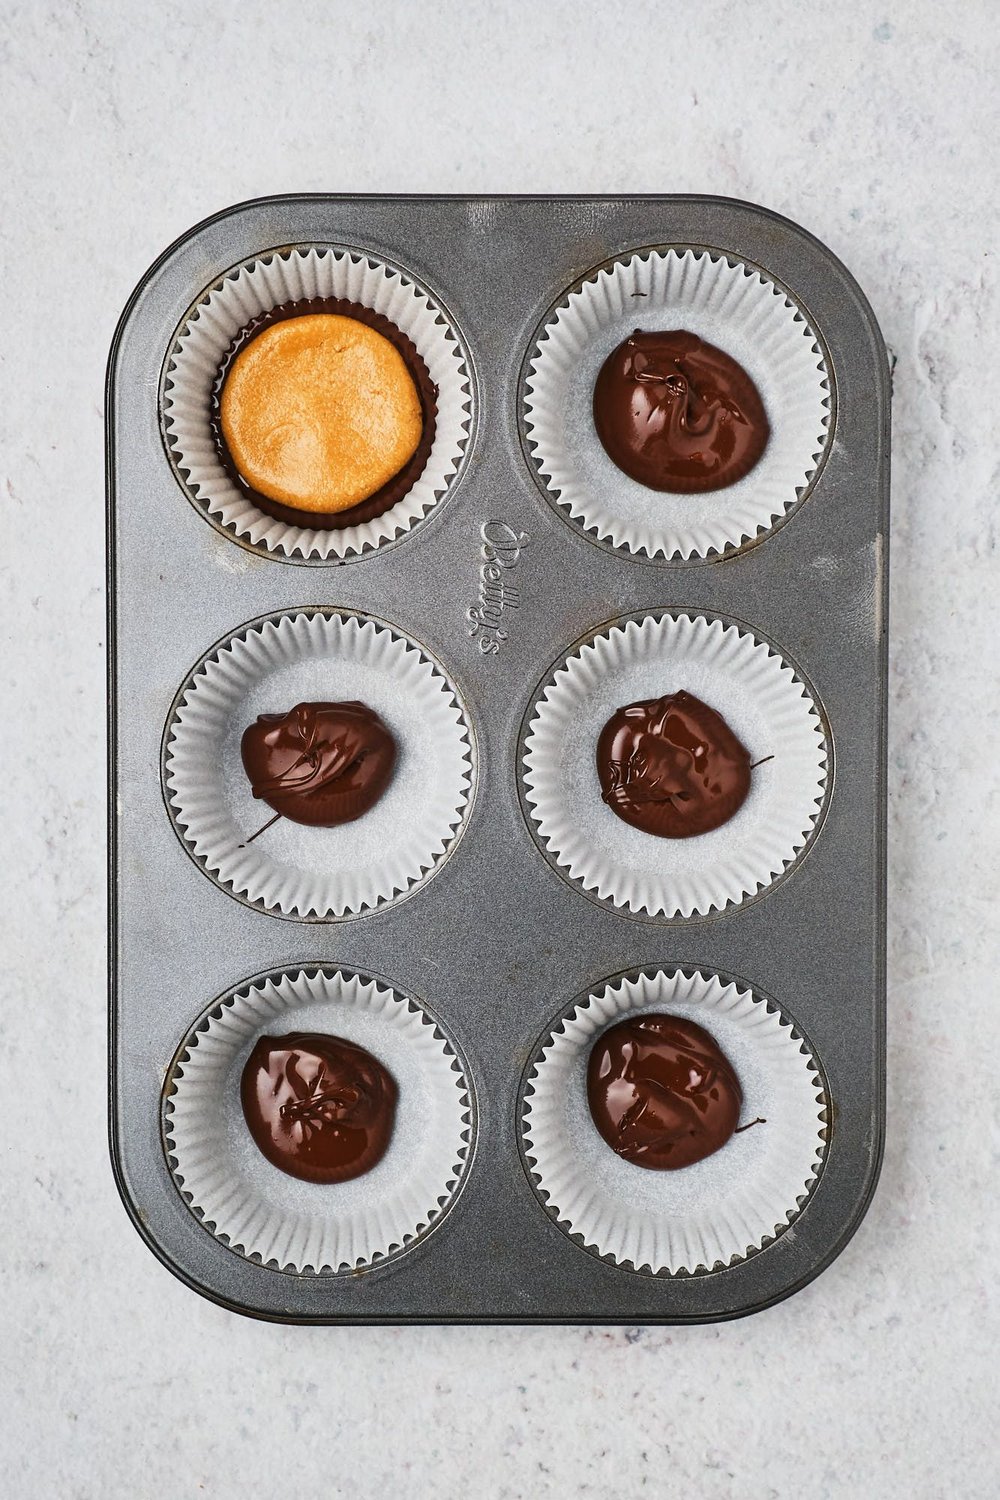
Spoon another dollop of chocolate onto each of the peanut butter discs and use your spoon to spread the chocolate to fill the sides and cover the tops evenly. To even out the tops of your peanut butter cups, gently shake the pan or tap it onto the countertop.
Refrigerate the peanut butter cups. They'll be solid within 30 to 45 minutes, but the filling has the best texture and flavor if you let them chill overnight. The peanut butter cups can be stored at room temperature if your room is cool enough to keep the chocolate solid, but I live in a hot climate, so I prefer to store them in the refrigerator.
Notes & Hints
I recommend using a natural peanut butter that's just peanuts and salt, like Trader Joe's or Santa Cruz.
If you're using unsalted peanut butter, add an additional 1/8 teaspoon of salt to the peanut butter filling.
To keep this recipe refined sugar-free, use chocolate chips that are also refined sugar-free, like Lakanto or ChocZero.
For best results, weigh your ingredients. If your peanut butter filling is too dry, you can add a few drops of water; if it's sticky, add another teaspoon of oat flour.
Nutrition Data
Serving Size 1/8 of recipe
| Amount Per Serving | ||
|---|---|---|
| Calories 284 | Calories from Fat 153 | |
| % Daily Value* | ||
| Total Fat 17g | 22% | |
| Saturated Fat 8g | 40% | |
| Trans Fat 0g | ||
| Cholesterol 0mg | 0% | |
| Sodium 85mg | 4% | |
| Total Carbohydrate 32g | 11% | |
| Dietary Fiber 4g | 16% | |
| Sugars 21g | ||
| Protein 5g | 10% | |
| Vitamin A 0mcg RAE | 0% | |
|---|---|---|
| Vitamin B12 0mcg | 0% | |
| Vitamin C 0mg | 0% | |
| Vitamin D 0mcg | 0% | |
| Calcium 6mg | 0% | |
| Iron 0mg | 0% | |
| Potassium 217mg | 5% | |
| Zinc 0mg | 0% | |
* Percent Daily Values are based on a 2,000 calorie diet. Your daily values may be higher or lower depending on your calorie needs.
Note: This data should be used only as an estimate. Please see the nutrition section of my terms and conditions for more information on how this data is calculated.

Tofu That Doesn't Suck.
FREE EMAIL BONUS: 5 days of recipes that turn your boring tofu blocks into culinary masterpieces!


Leave a Comment
I love reading comments! I'll do my best to answer questions, too. If you made the recipe, please leave a star rating, it helps support the blog so I can make more recipes and articles. Thank you!
Loading comments...